Cabinet Refacing is a unique service that Robinwood Kitchens has specialized in for over 40 years. We take great pride in offering our clients an alternative option to completely remodeling without compromising quality and aesthetics. Our secret is using the best quality refacing materials available from Conestoga Wood Specialties and employing our own installers that have refaced thousands of kitchen cabinets over the years.
Since cabinet refacing is a something that many are unfamiliar with, below is our step by step guide to the process.
Step One: Design & Details
The scope of a cabinet refacing project can vary depending on what modifications or changes the homeowner would like to make. The project can either be very simple and the cabinets are refaced “as is”, or it can be more complex and may involve modifying existing cabinetry or adding new cabinetry. All these details are discussed in the very beginning for a few important reasons. Modifications or additional cabinetry will affect the overall cost of the project and these details need to be hashed out so we can order the material and new cabinetry properly. Often times we provide our clients with drawings of the modifications or new cabinetry to approve prior to ordering.
During this phase we also select the new door style and finish for the cabinet refacing project. We have many samples to select from in our showroom. However, our supplier, Conestoga Wood, is a custom company so there are hundreds (if not, thousands) or door style/finish combinations available. If the homeowner is looking for something that we may not have in the showroom, we order door samples for approval before finalizing all the details and ordering.

Step Two: D-Day
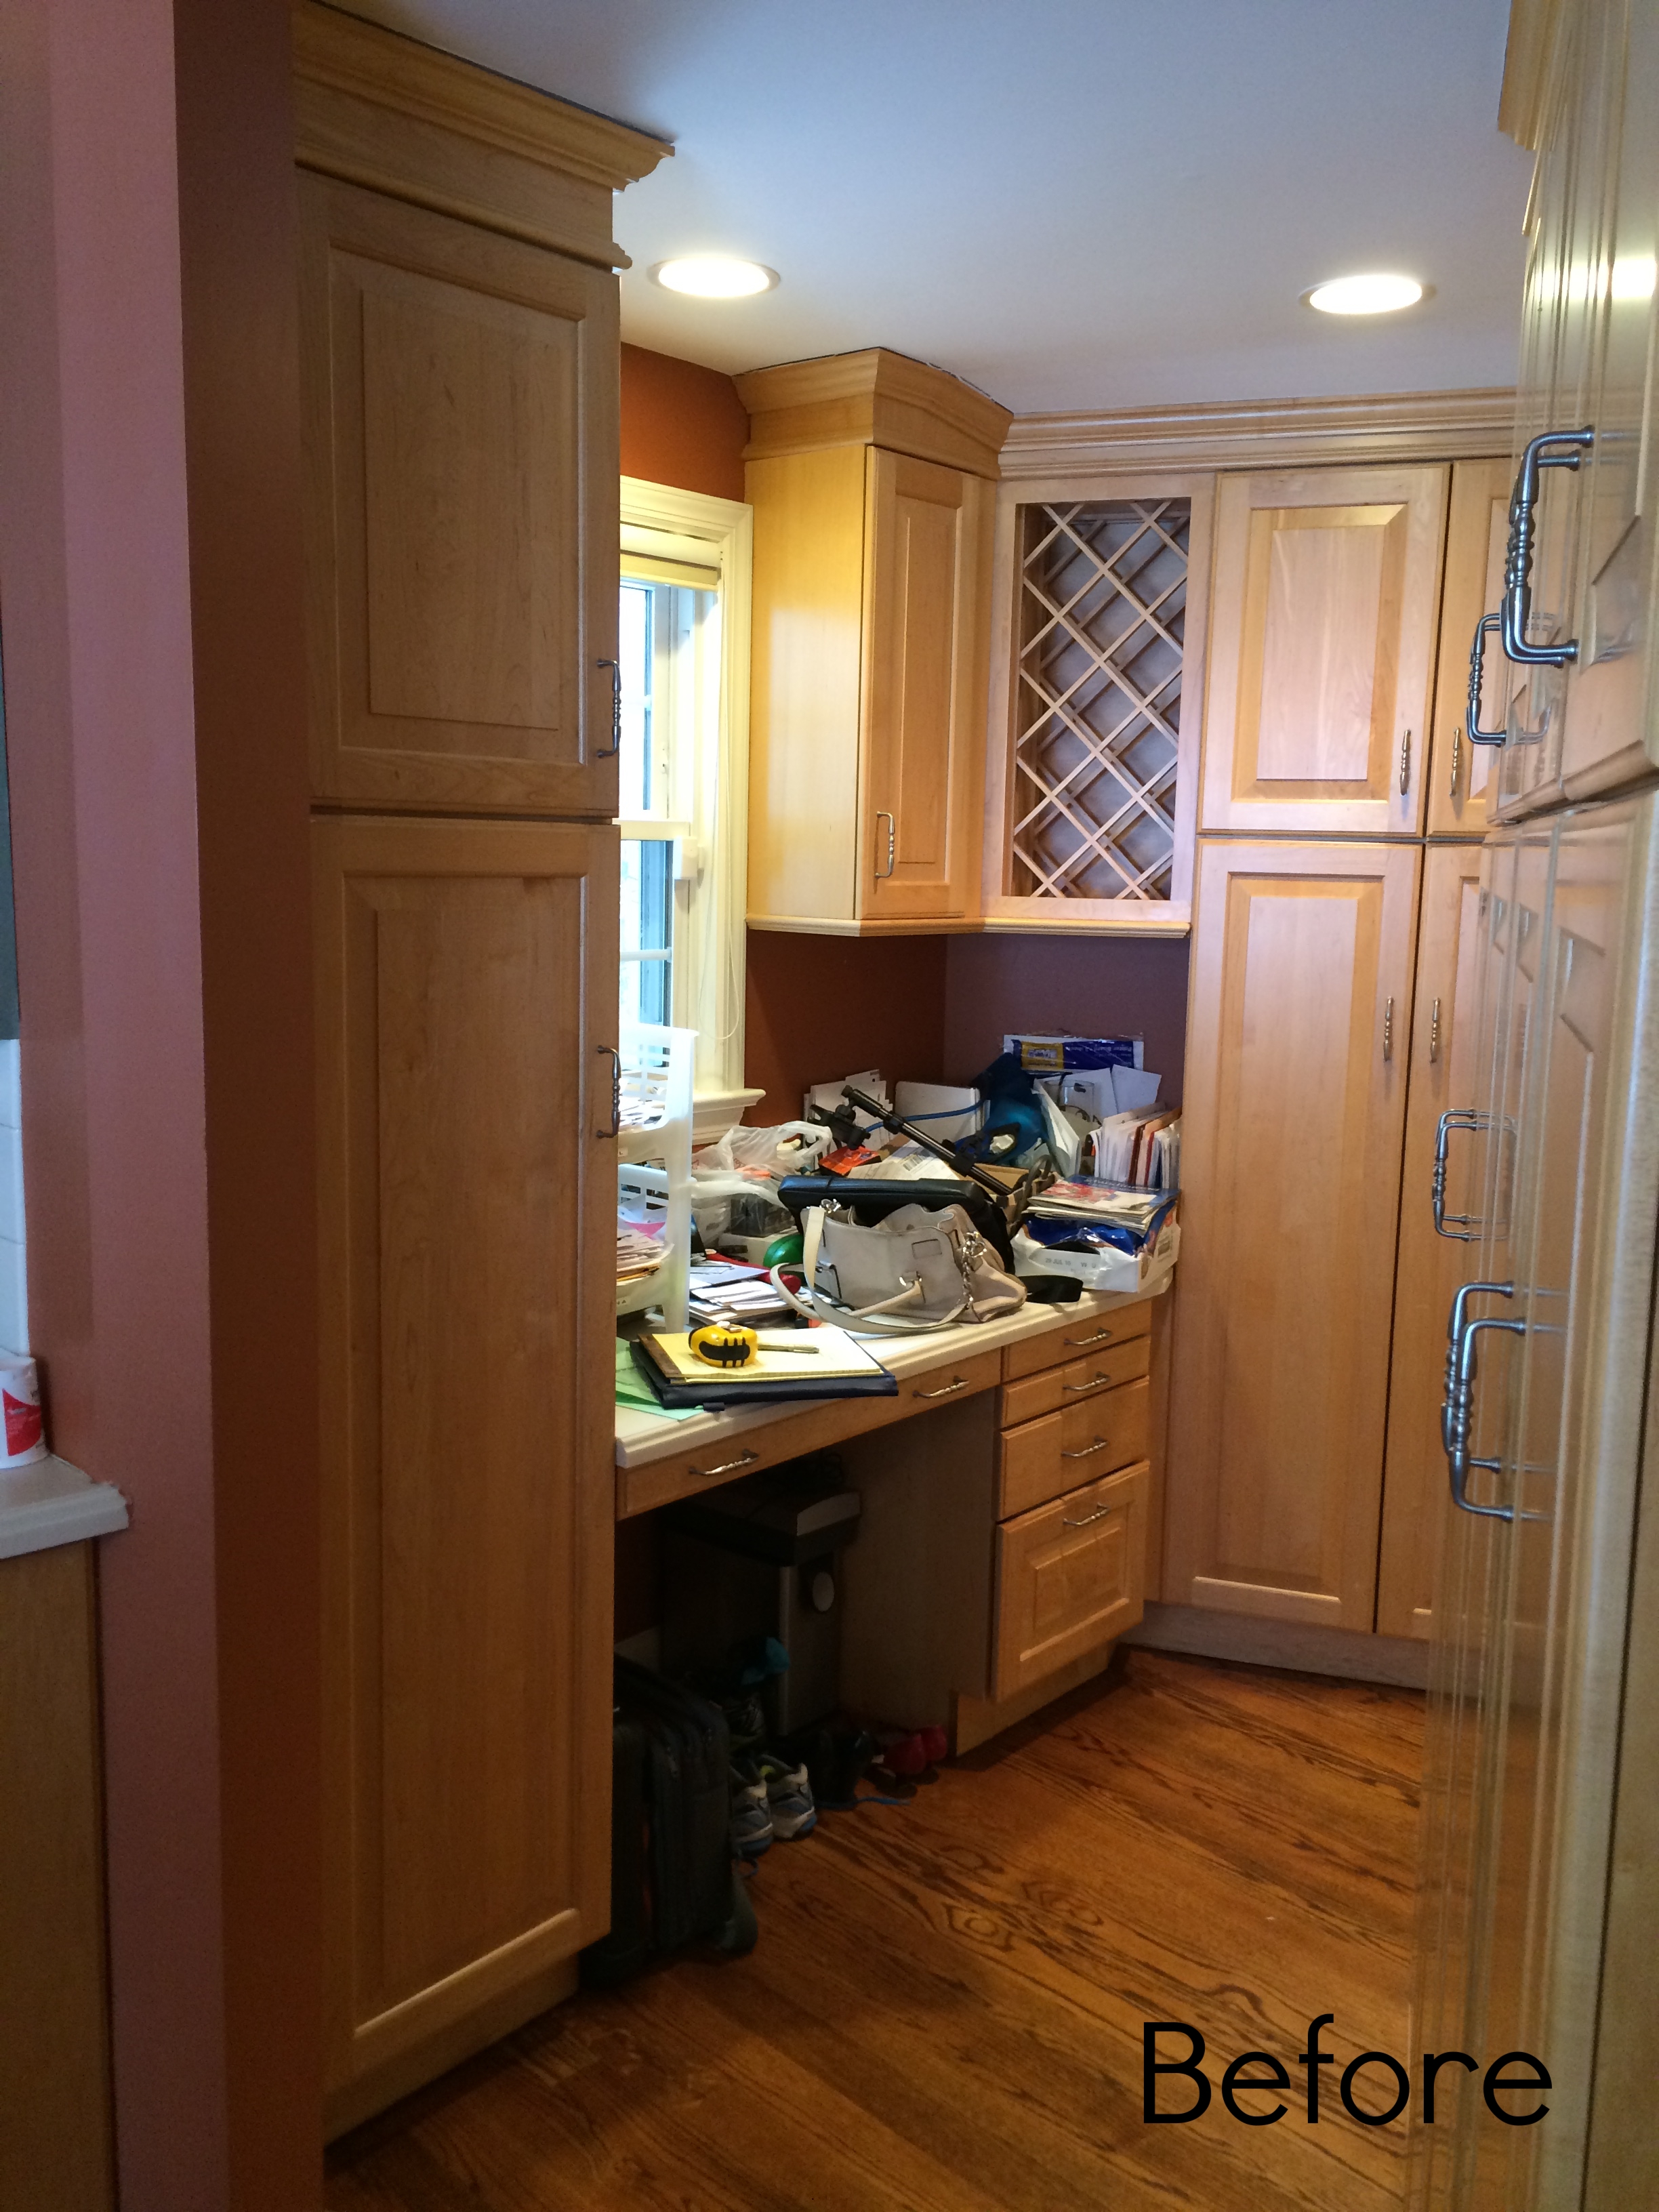
*Prior to starting the cabinet refacing project, it is important for the homeowners to clean out all cabinetry. While the refacing process isn’t very messy, light sanding is still involved so it’s best to remove everything from the cabinetry while work is being performed.
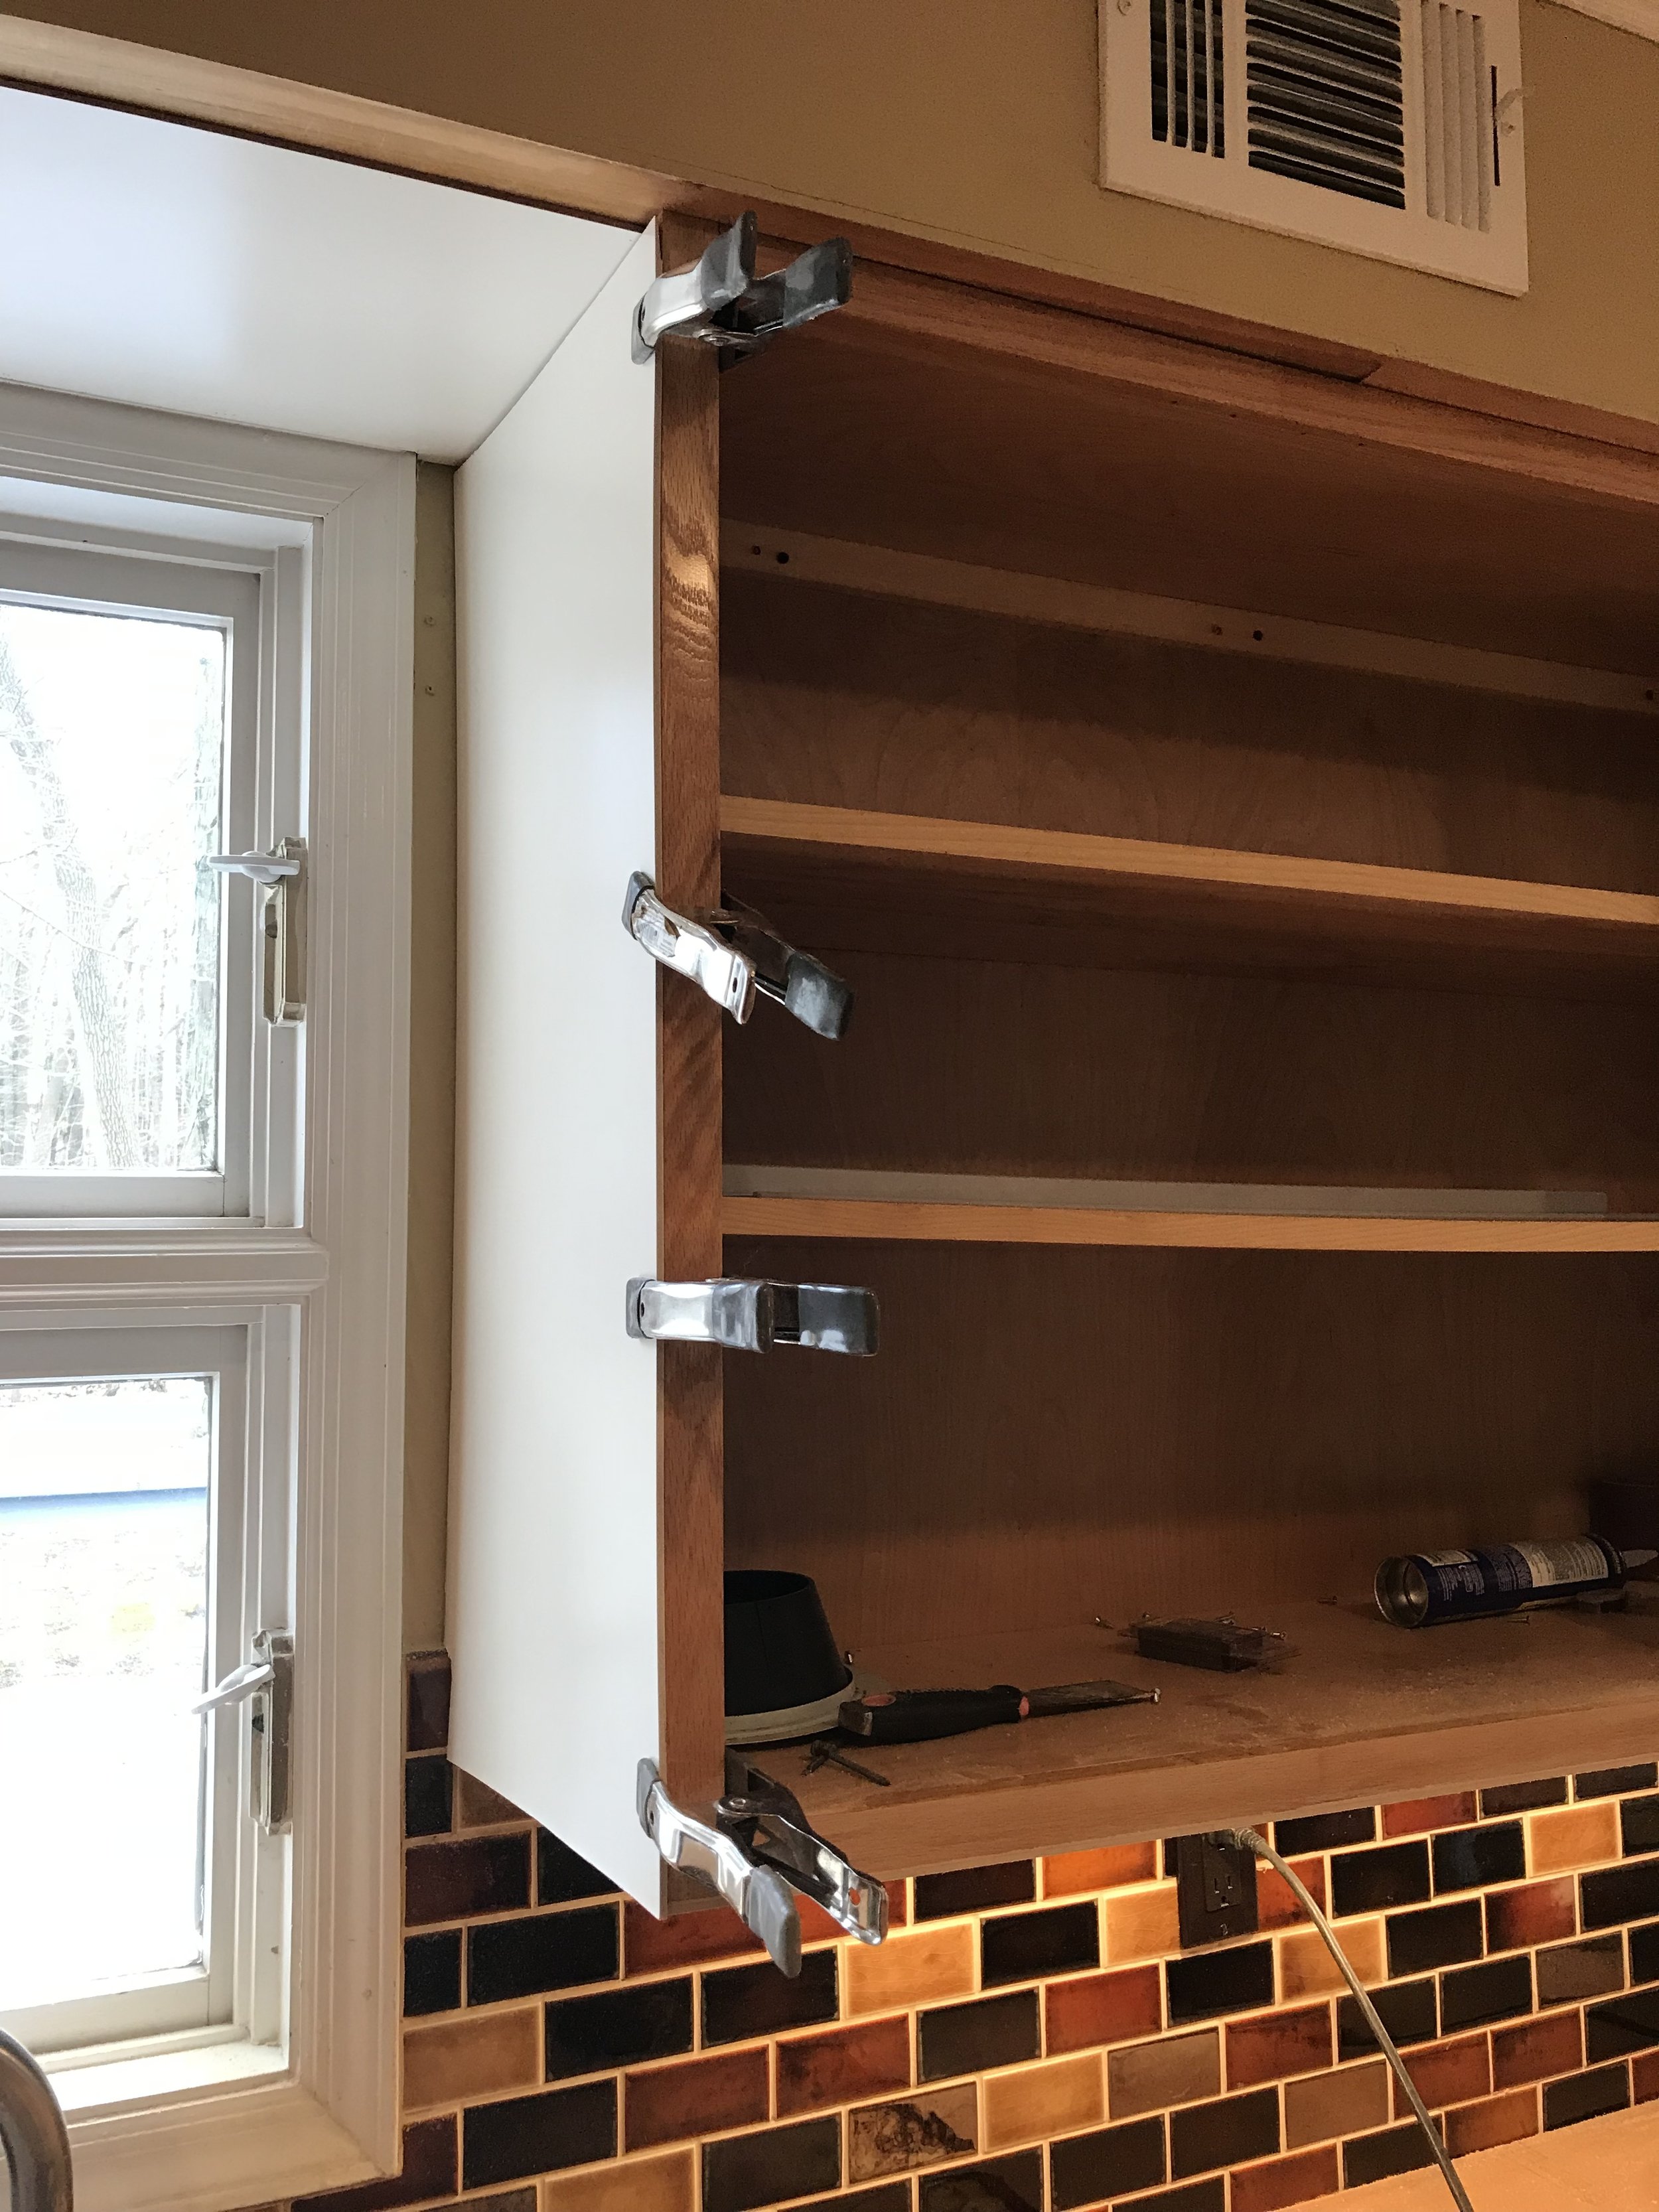
Demo Day for Cabinet Refacing is much less intrusive when compared to a complete remodel. Before we begin working, our installers protect the floors, countertops, and any other important areas of the kitchen. The first step is to remove all the existing doors, drawer fronts, and moldings that are being replaced.
If countertops are being replaced, they will also be removed at this time so a template for the new countertop can be completed. Countertops typically take 7-10 days to be fabricated, installation can be expected towards the end of the project.
If the backsplash is being replaced, the removal of existing backsplash tile will occur during the demo phase. The sheetrock will be patched in preparation for the new tile, and the tile installed after the countertop installation.
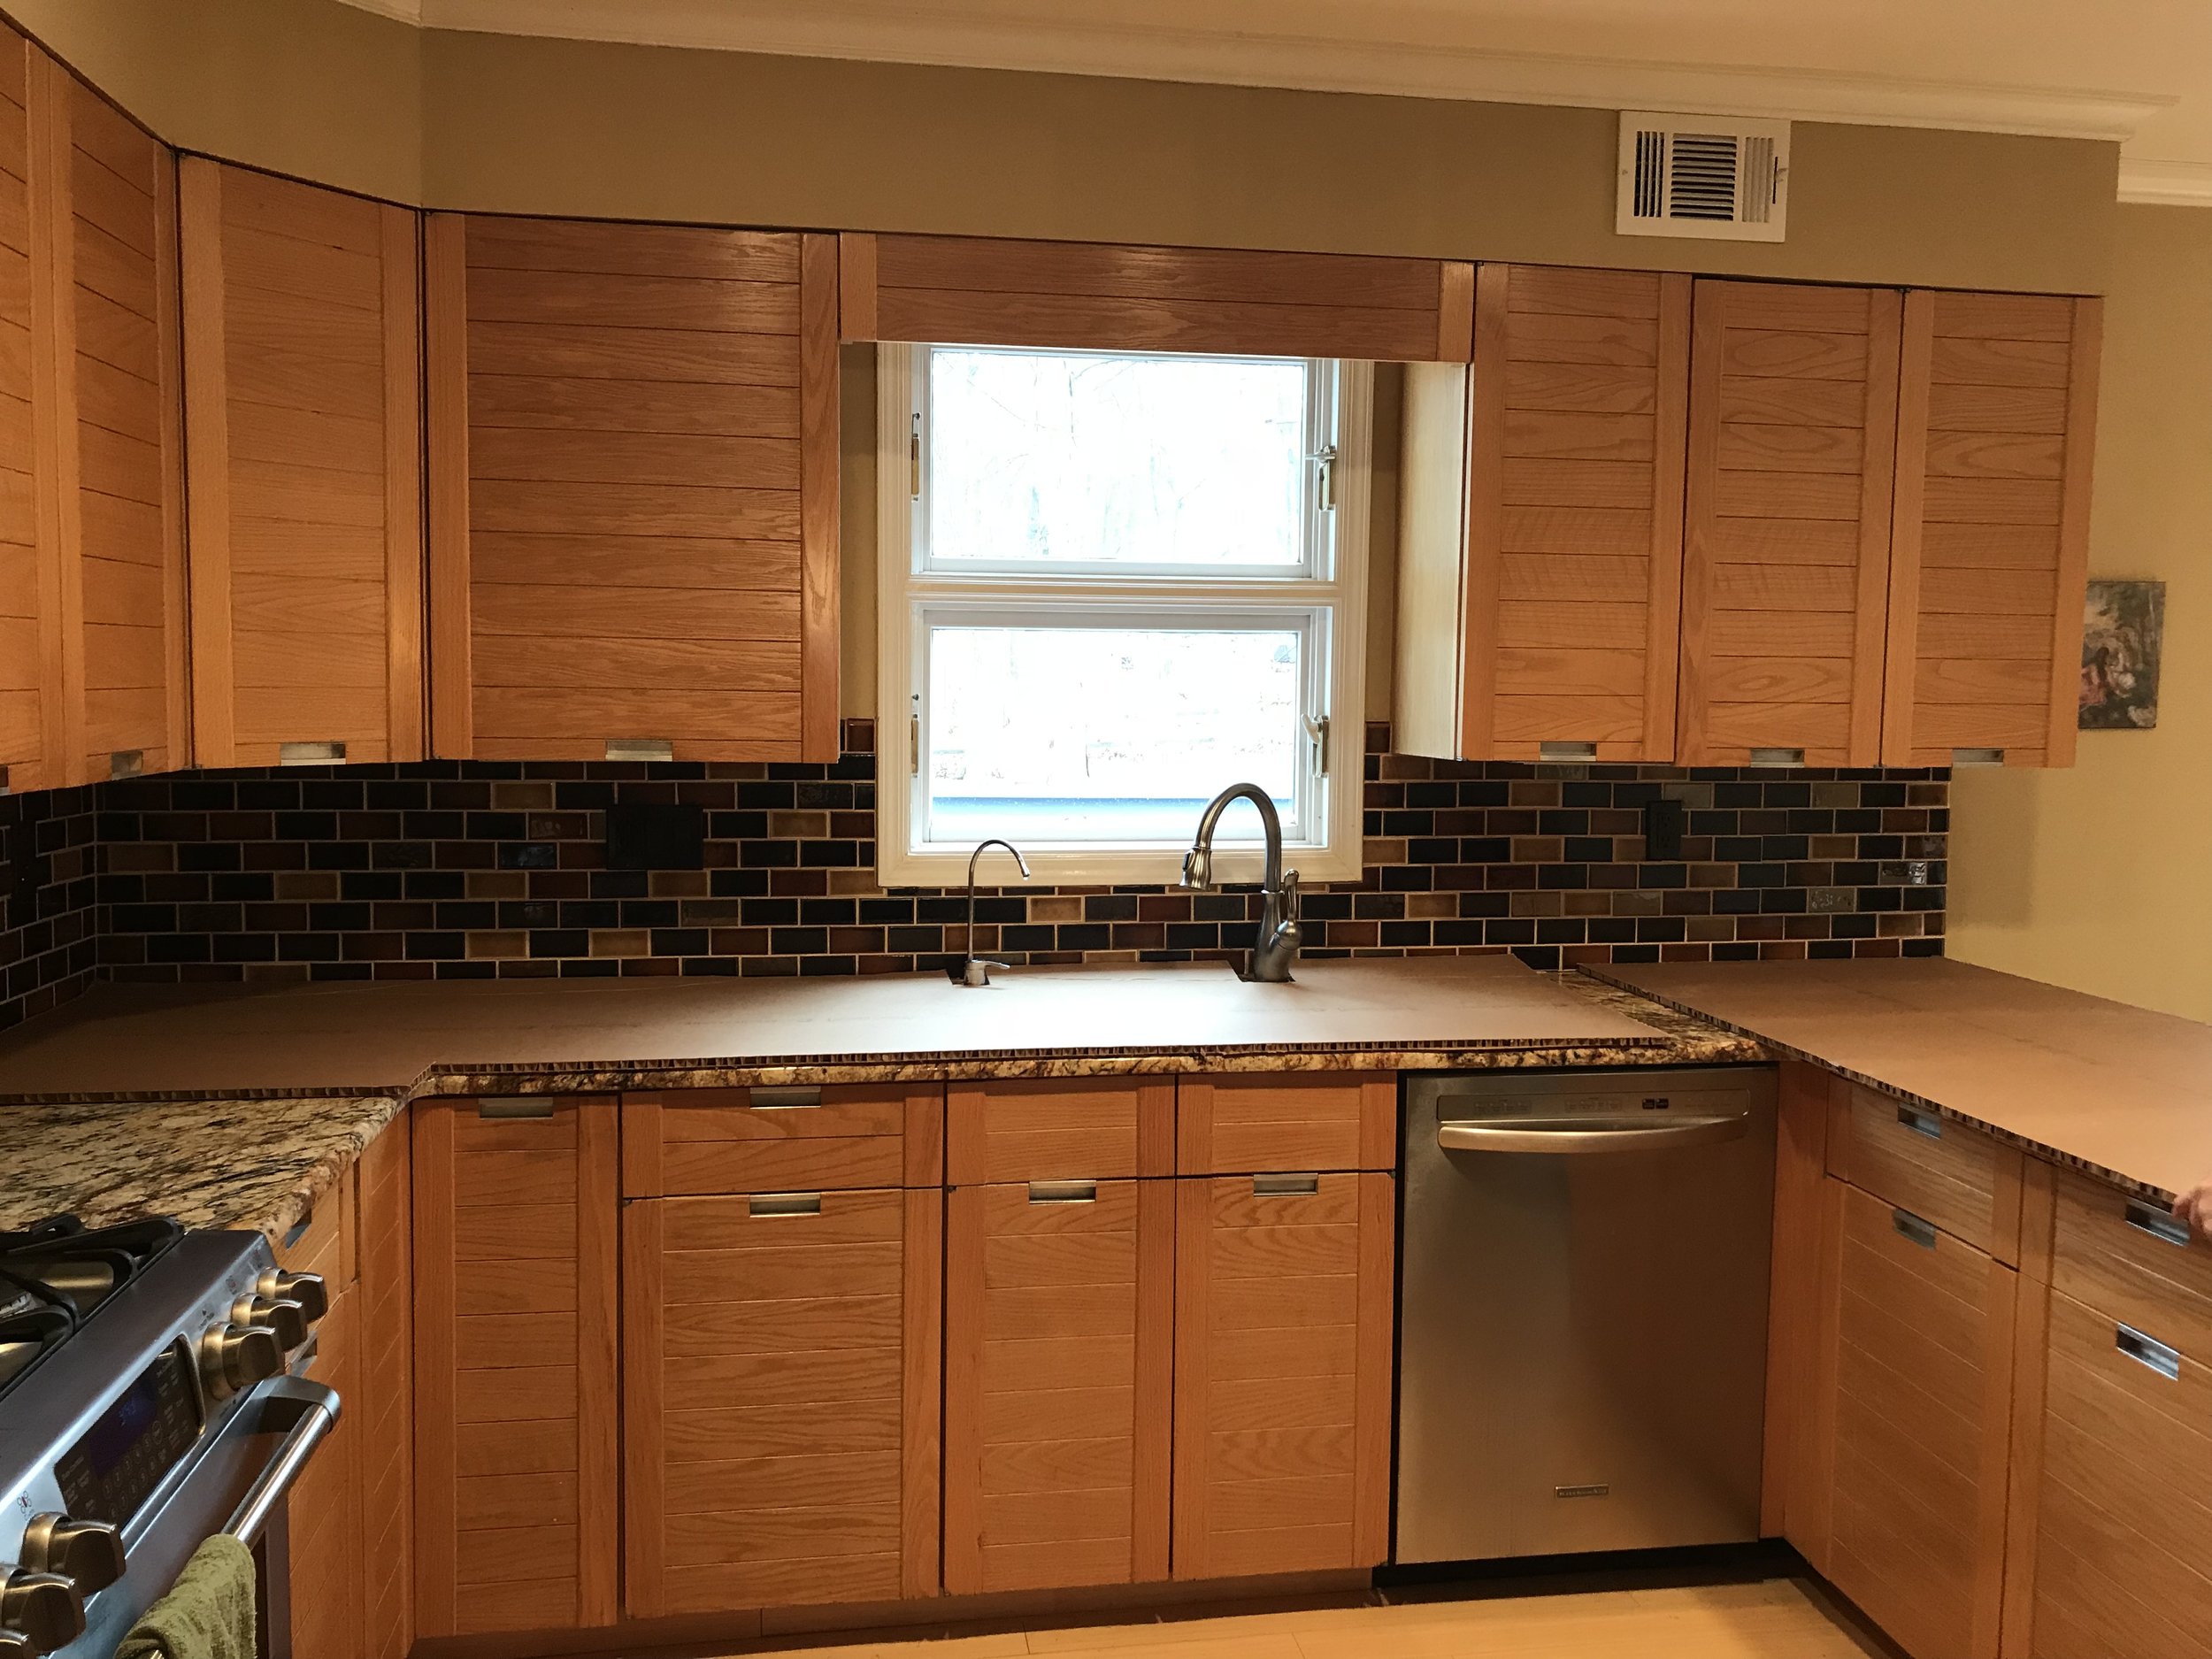
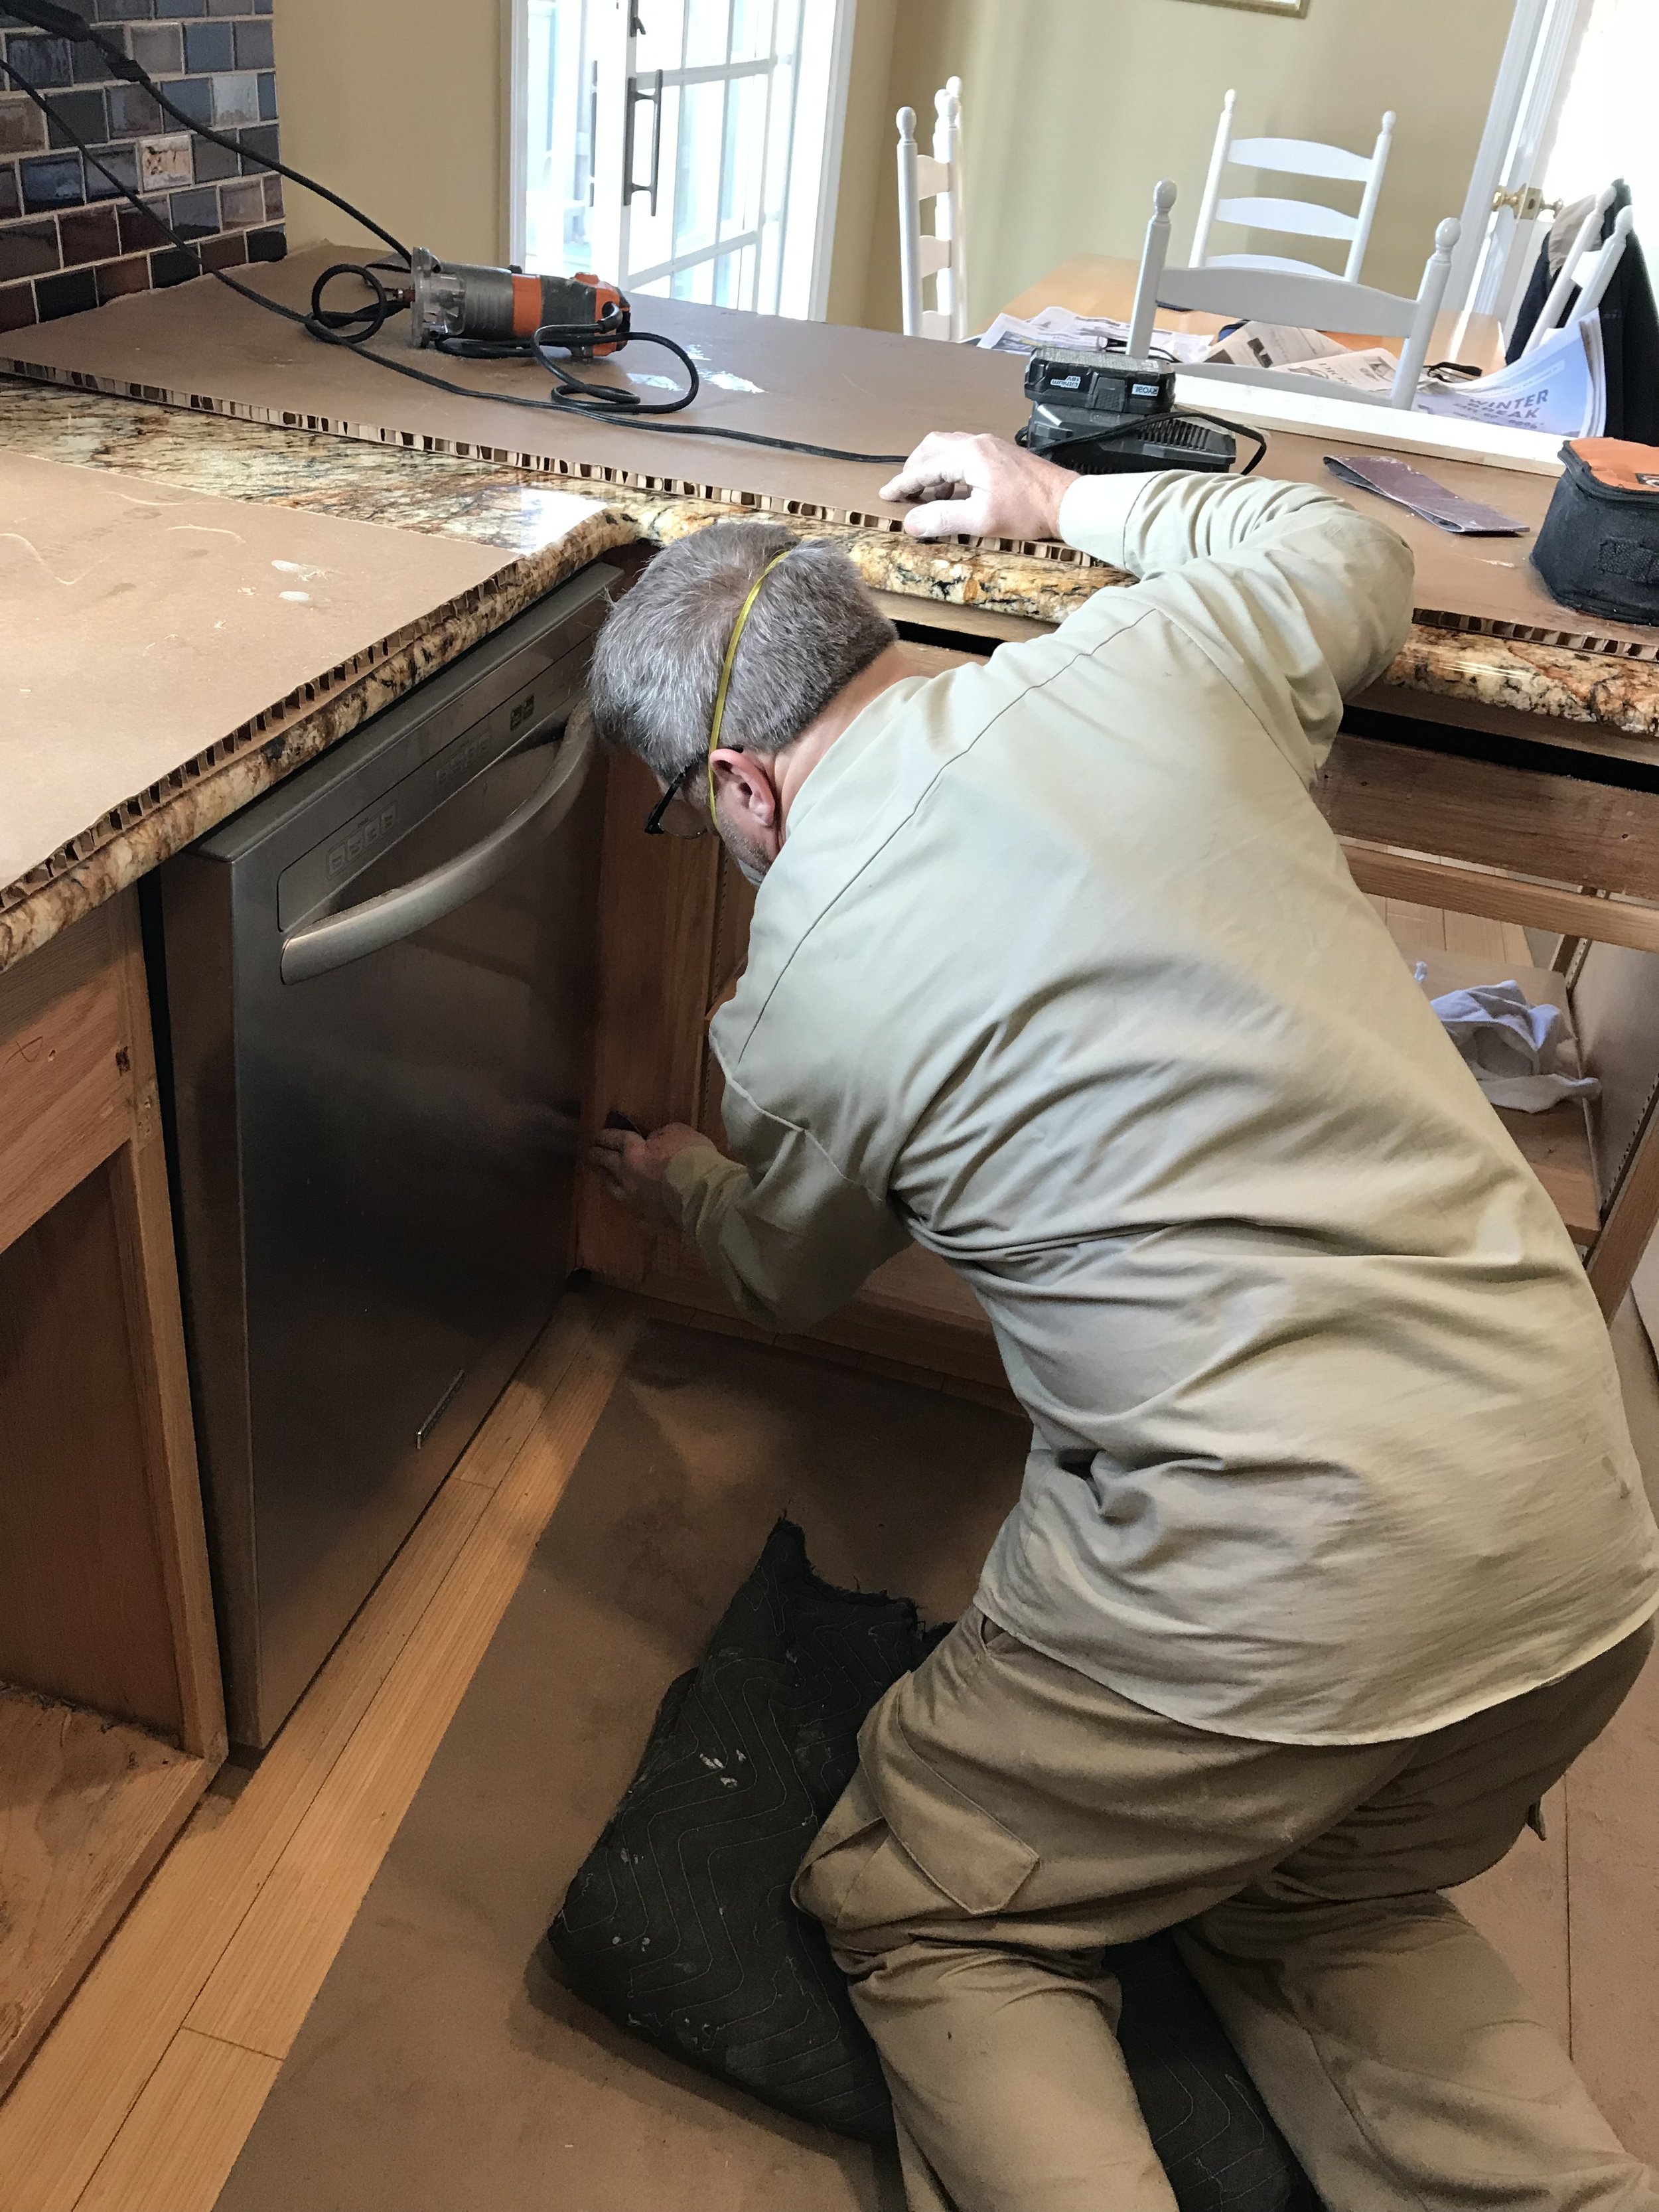
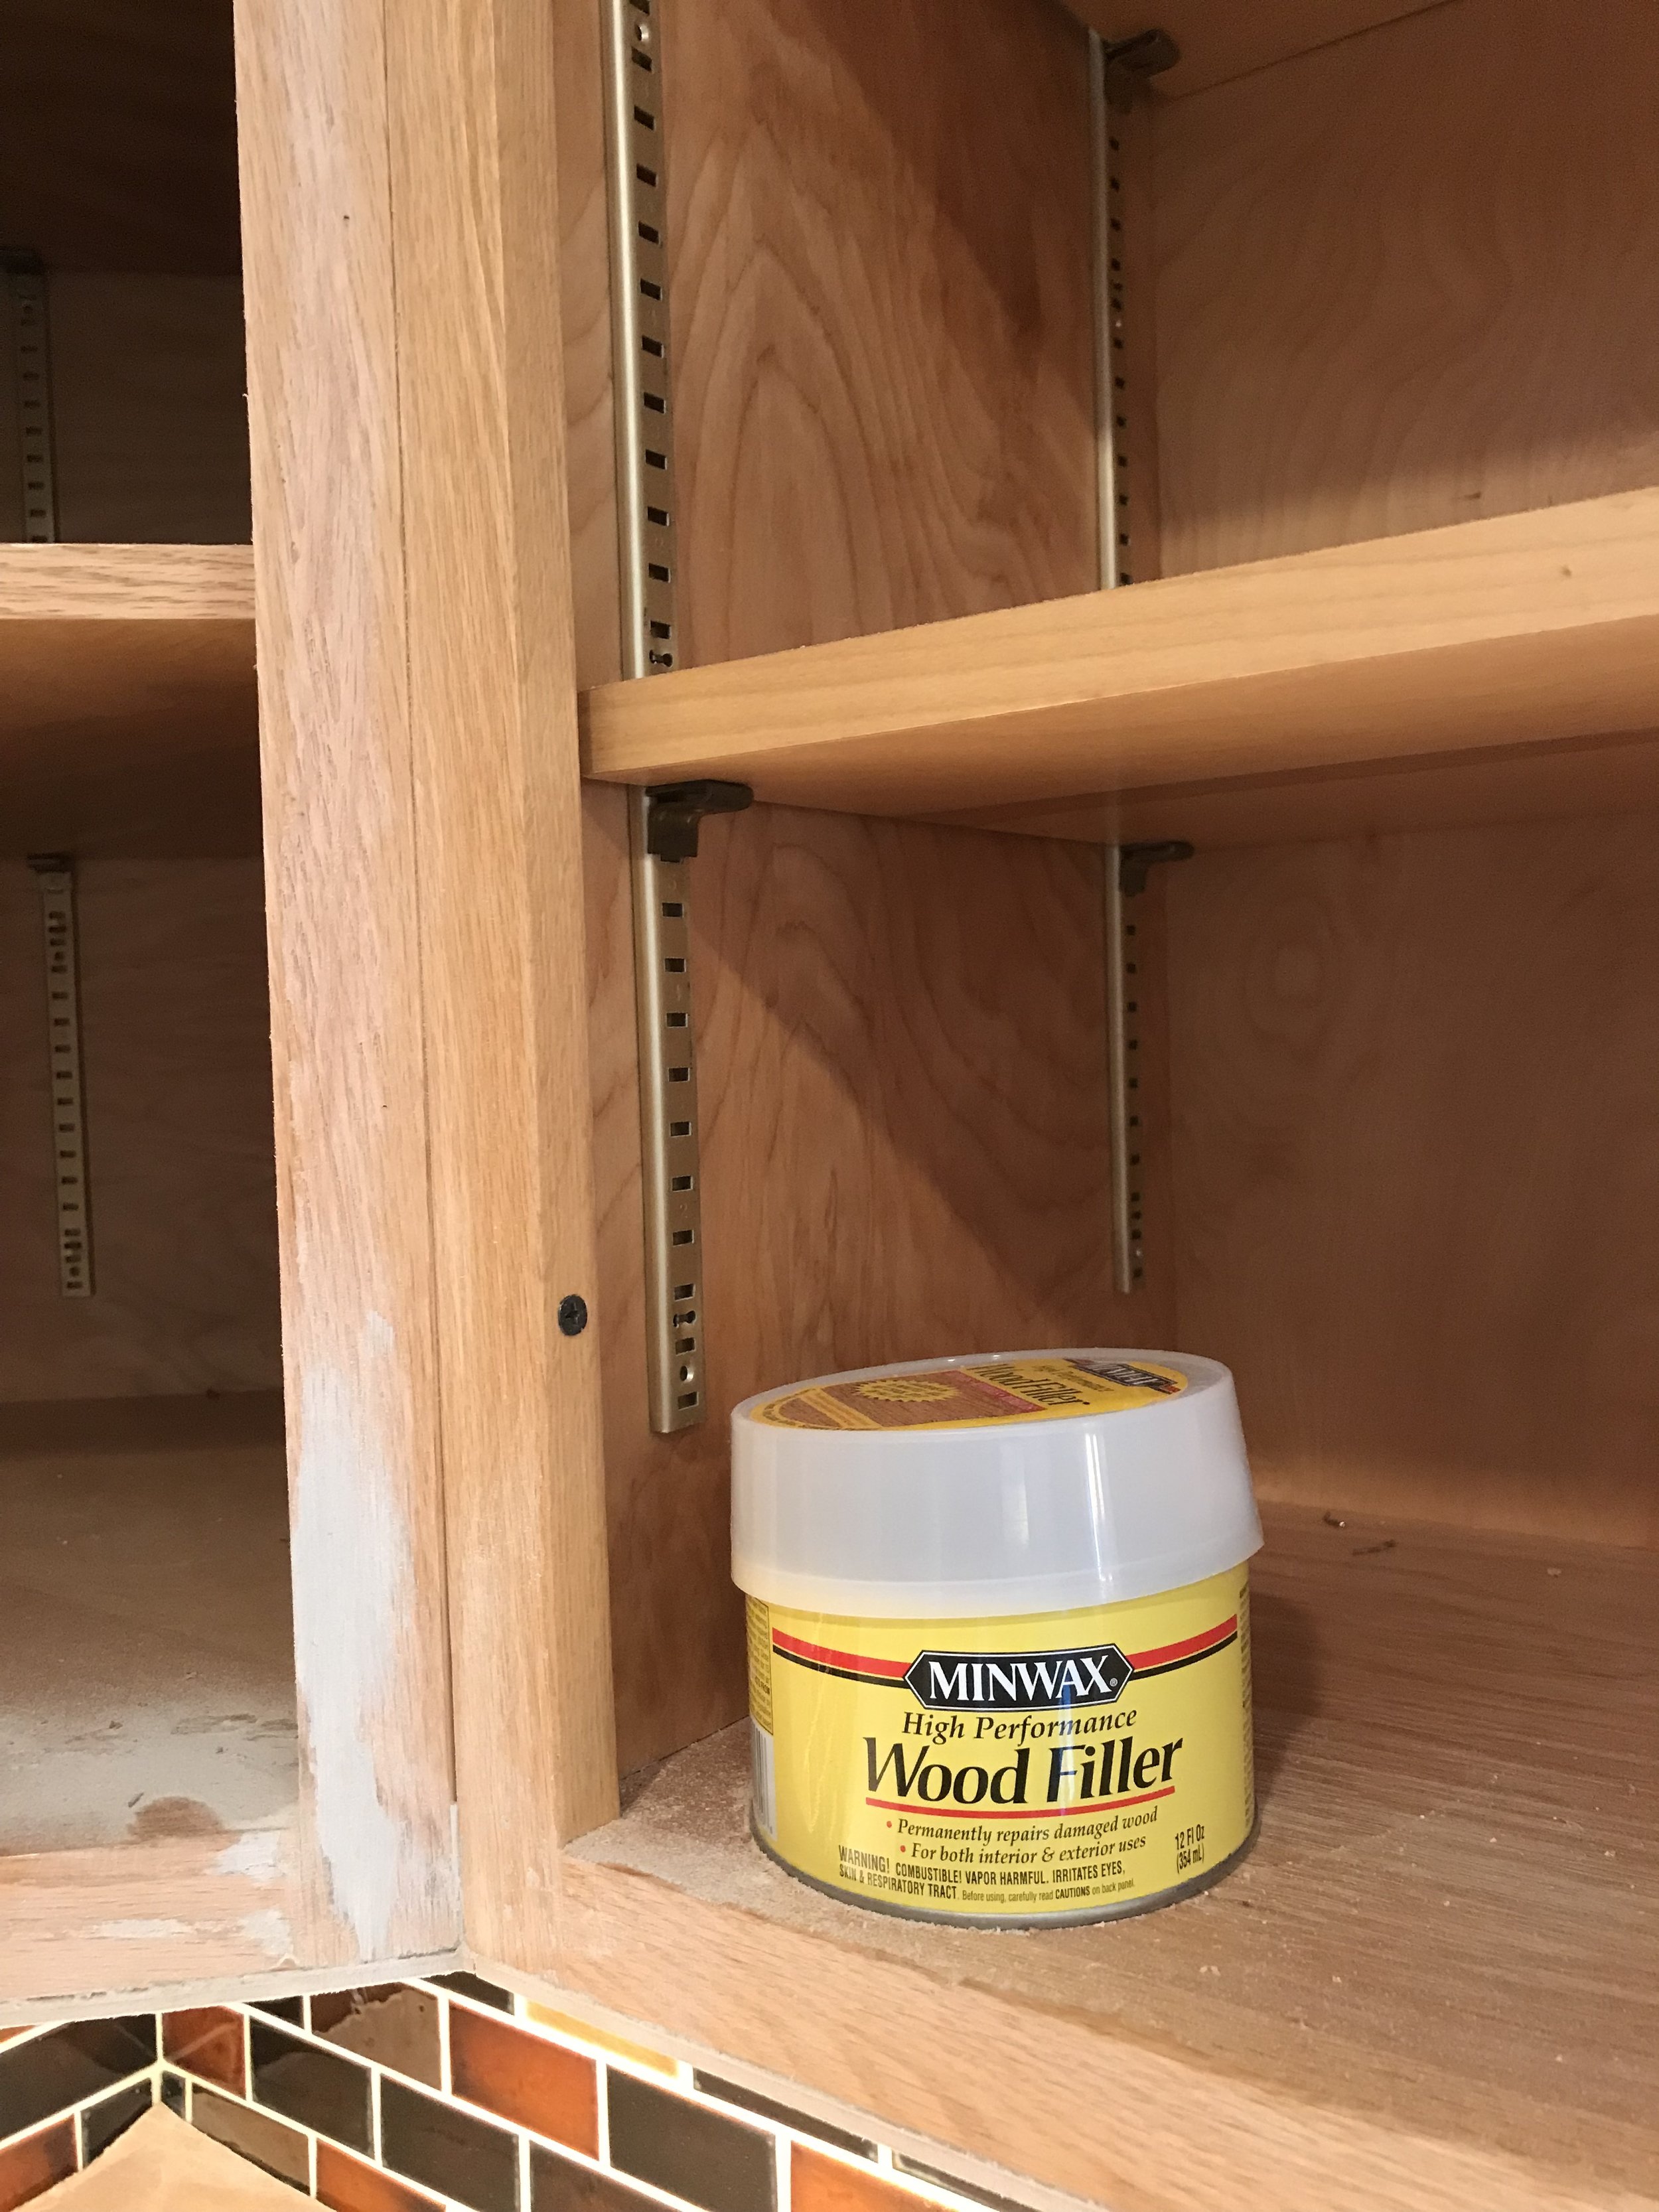
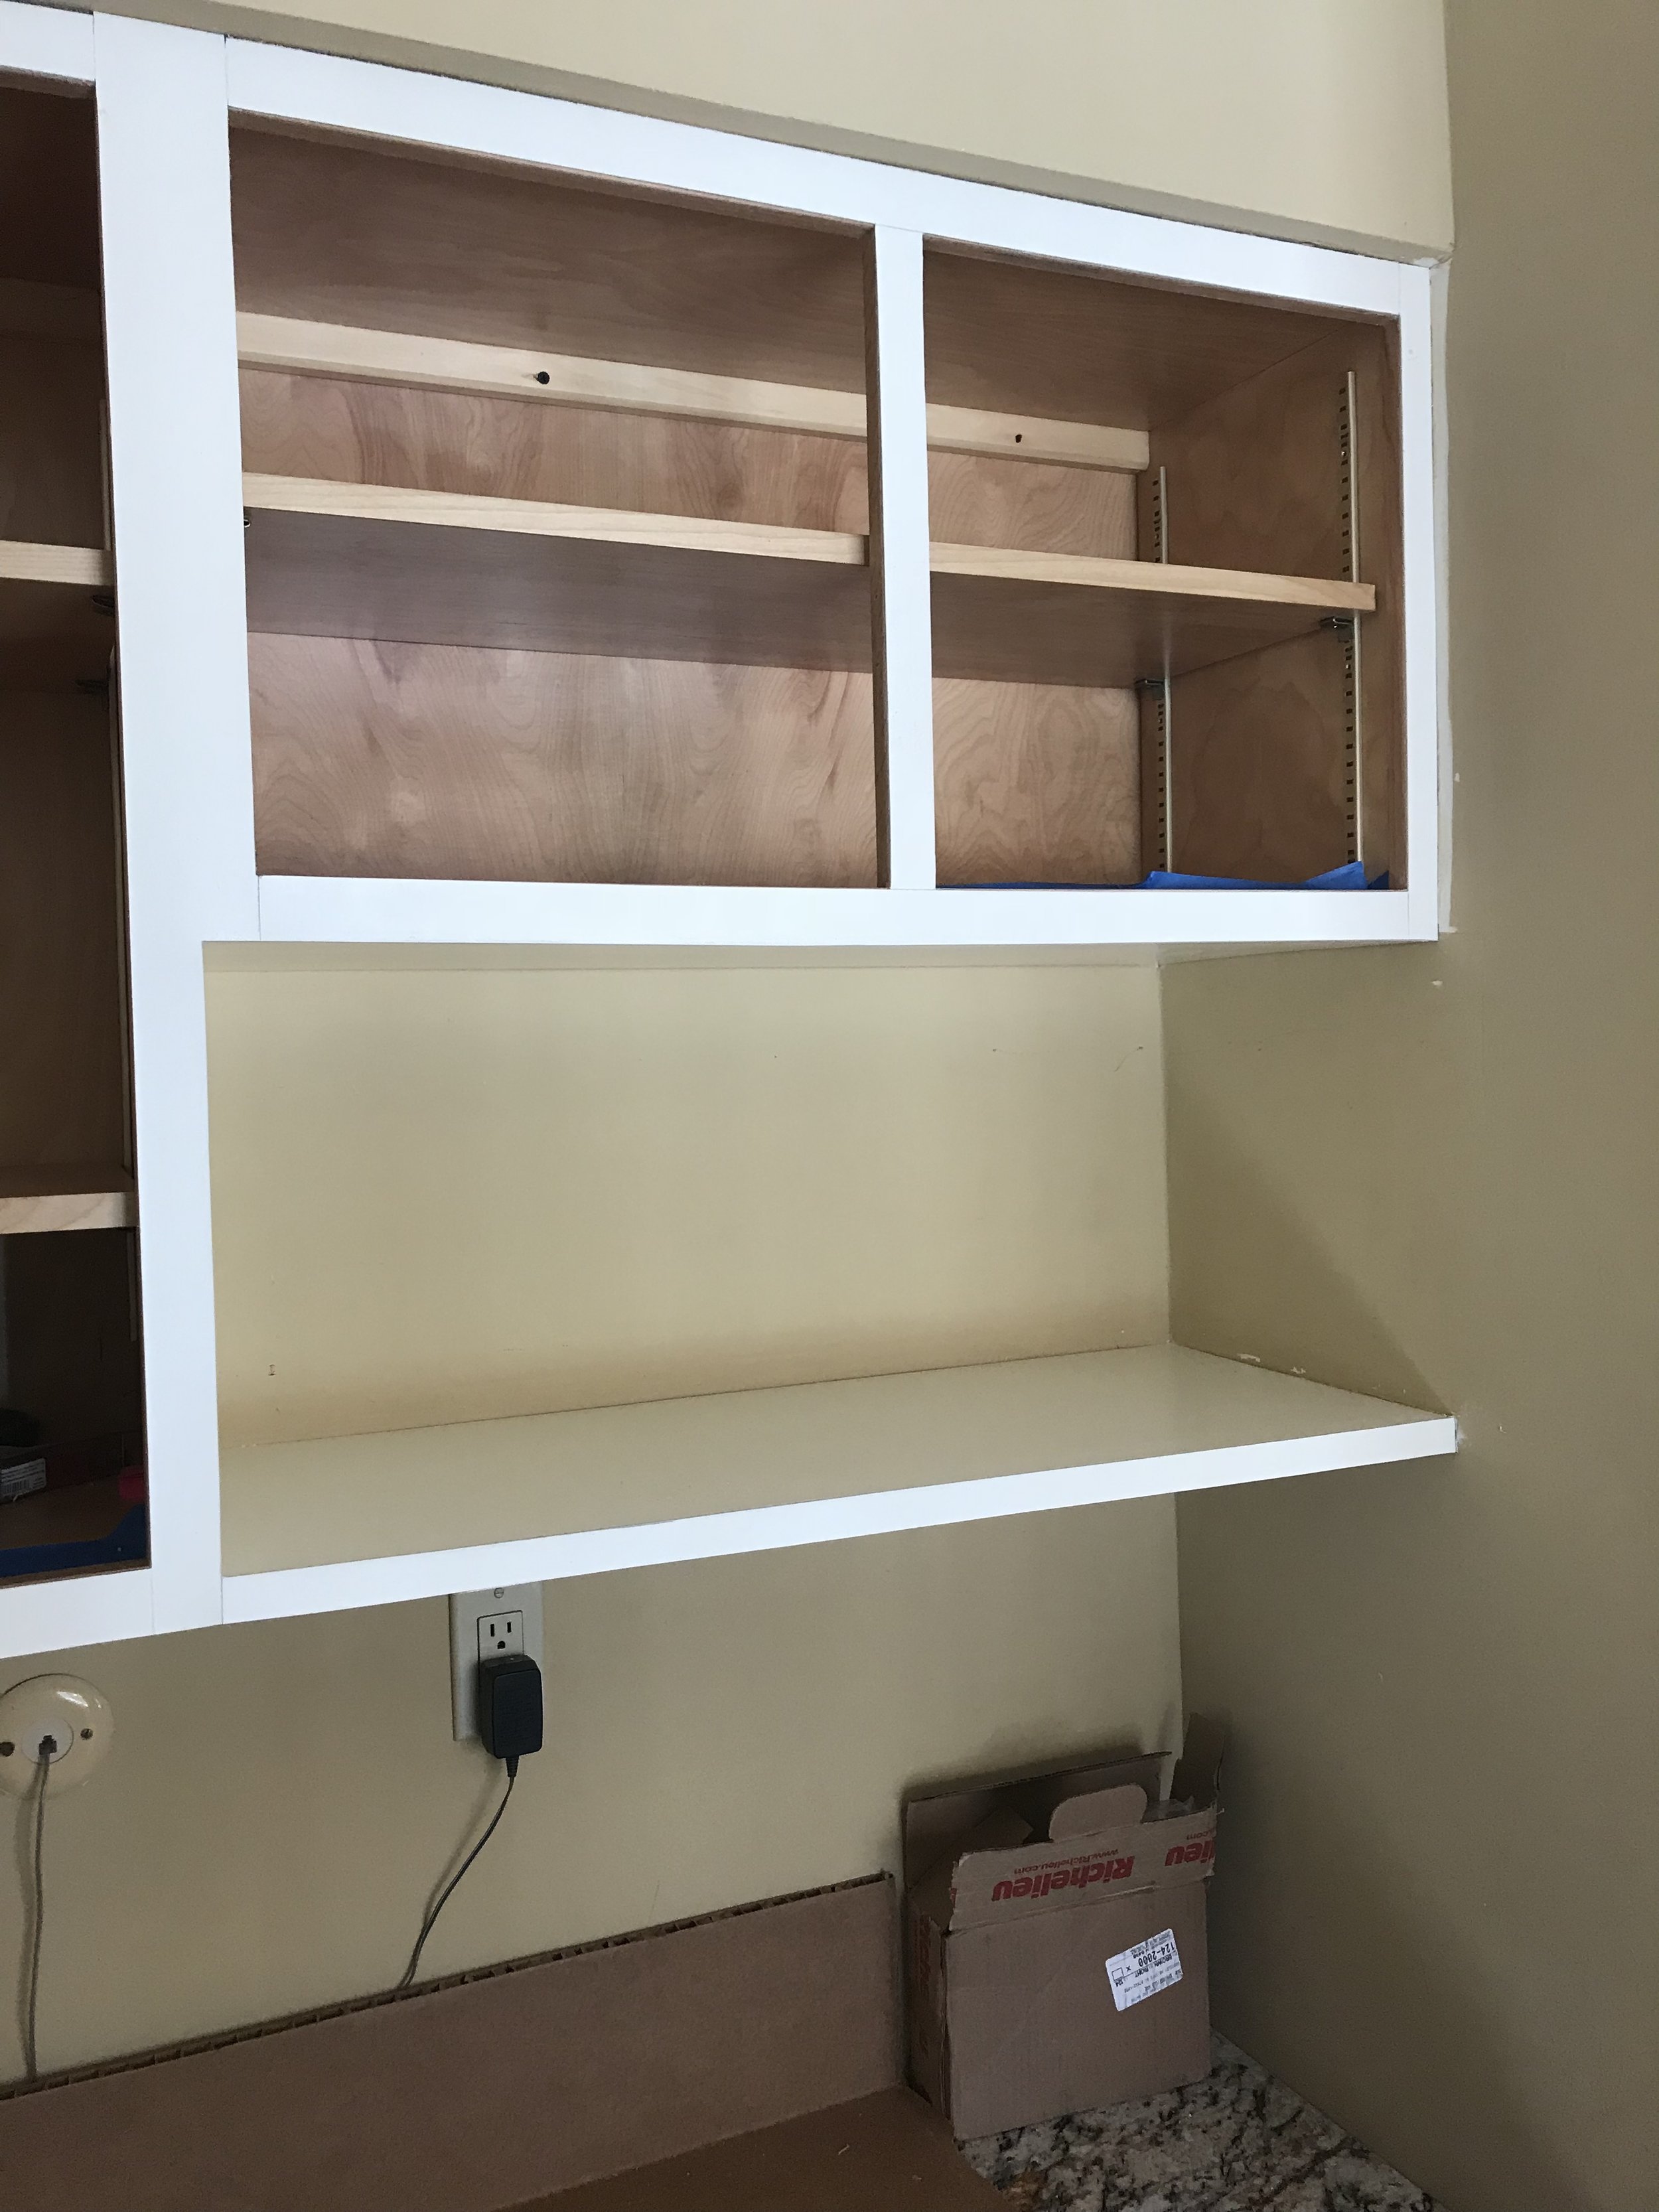
Step Three: Prep the Cabinets
To prep the cabinetry for the new refacing material the cabinets are cleaned with solution and lightly sanded. This is done to ensure the new skins and veneer will adhere to the existing cabinetry. Wood filler is also applied to the cabinetry frames as needed.
If new cabinetry is within the scope of work it will also be installed during this phase.
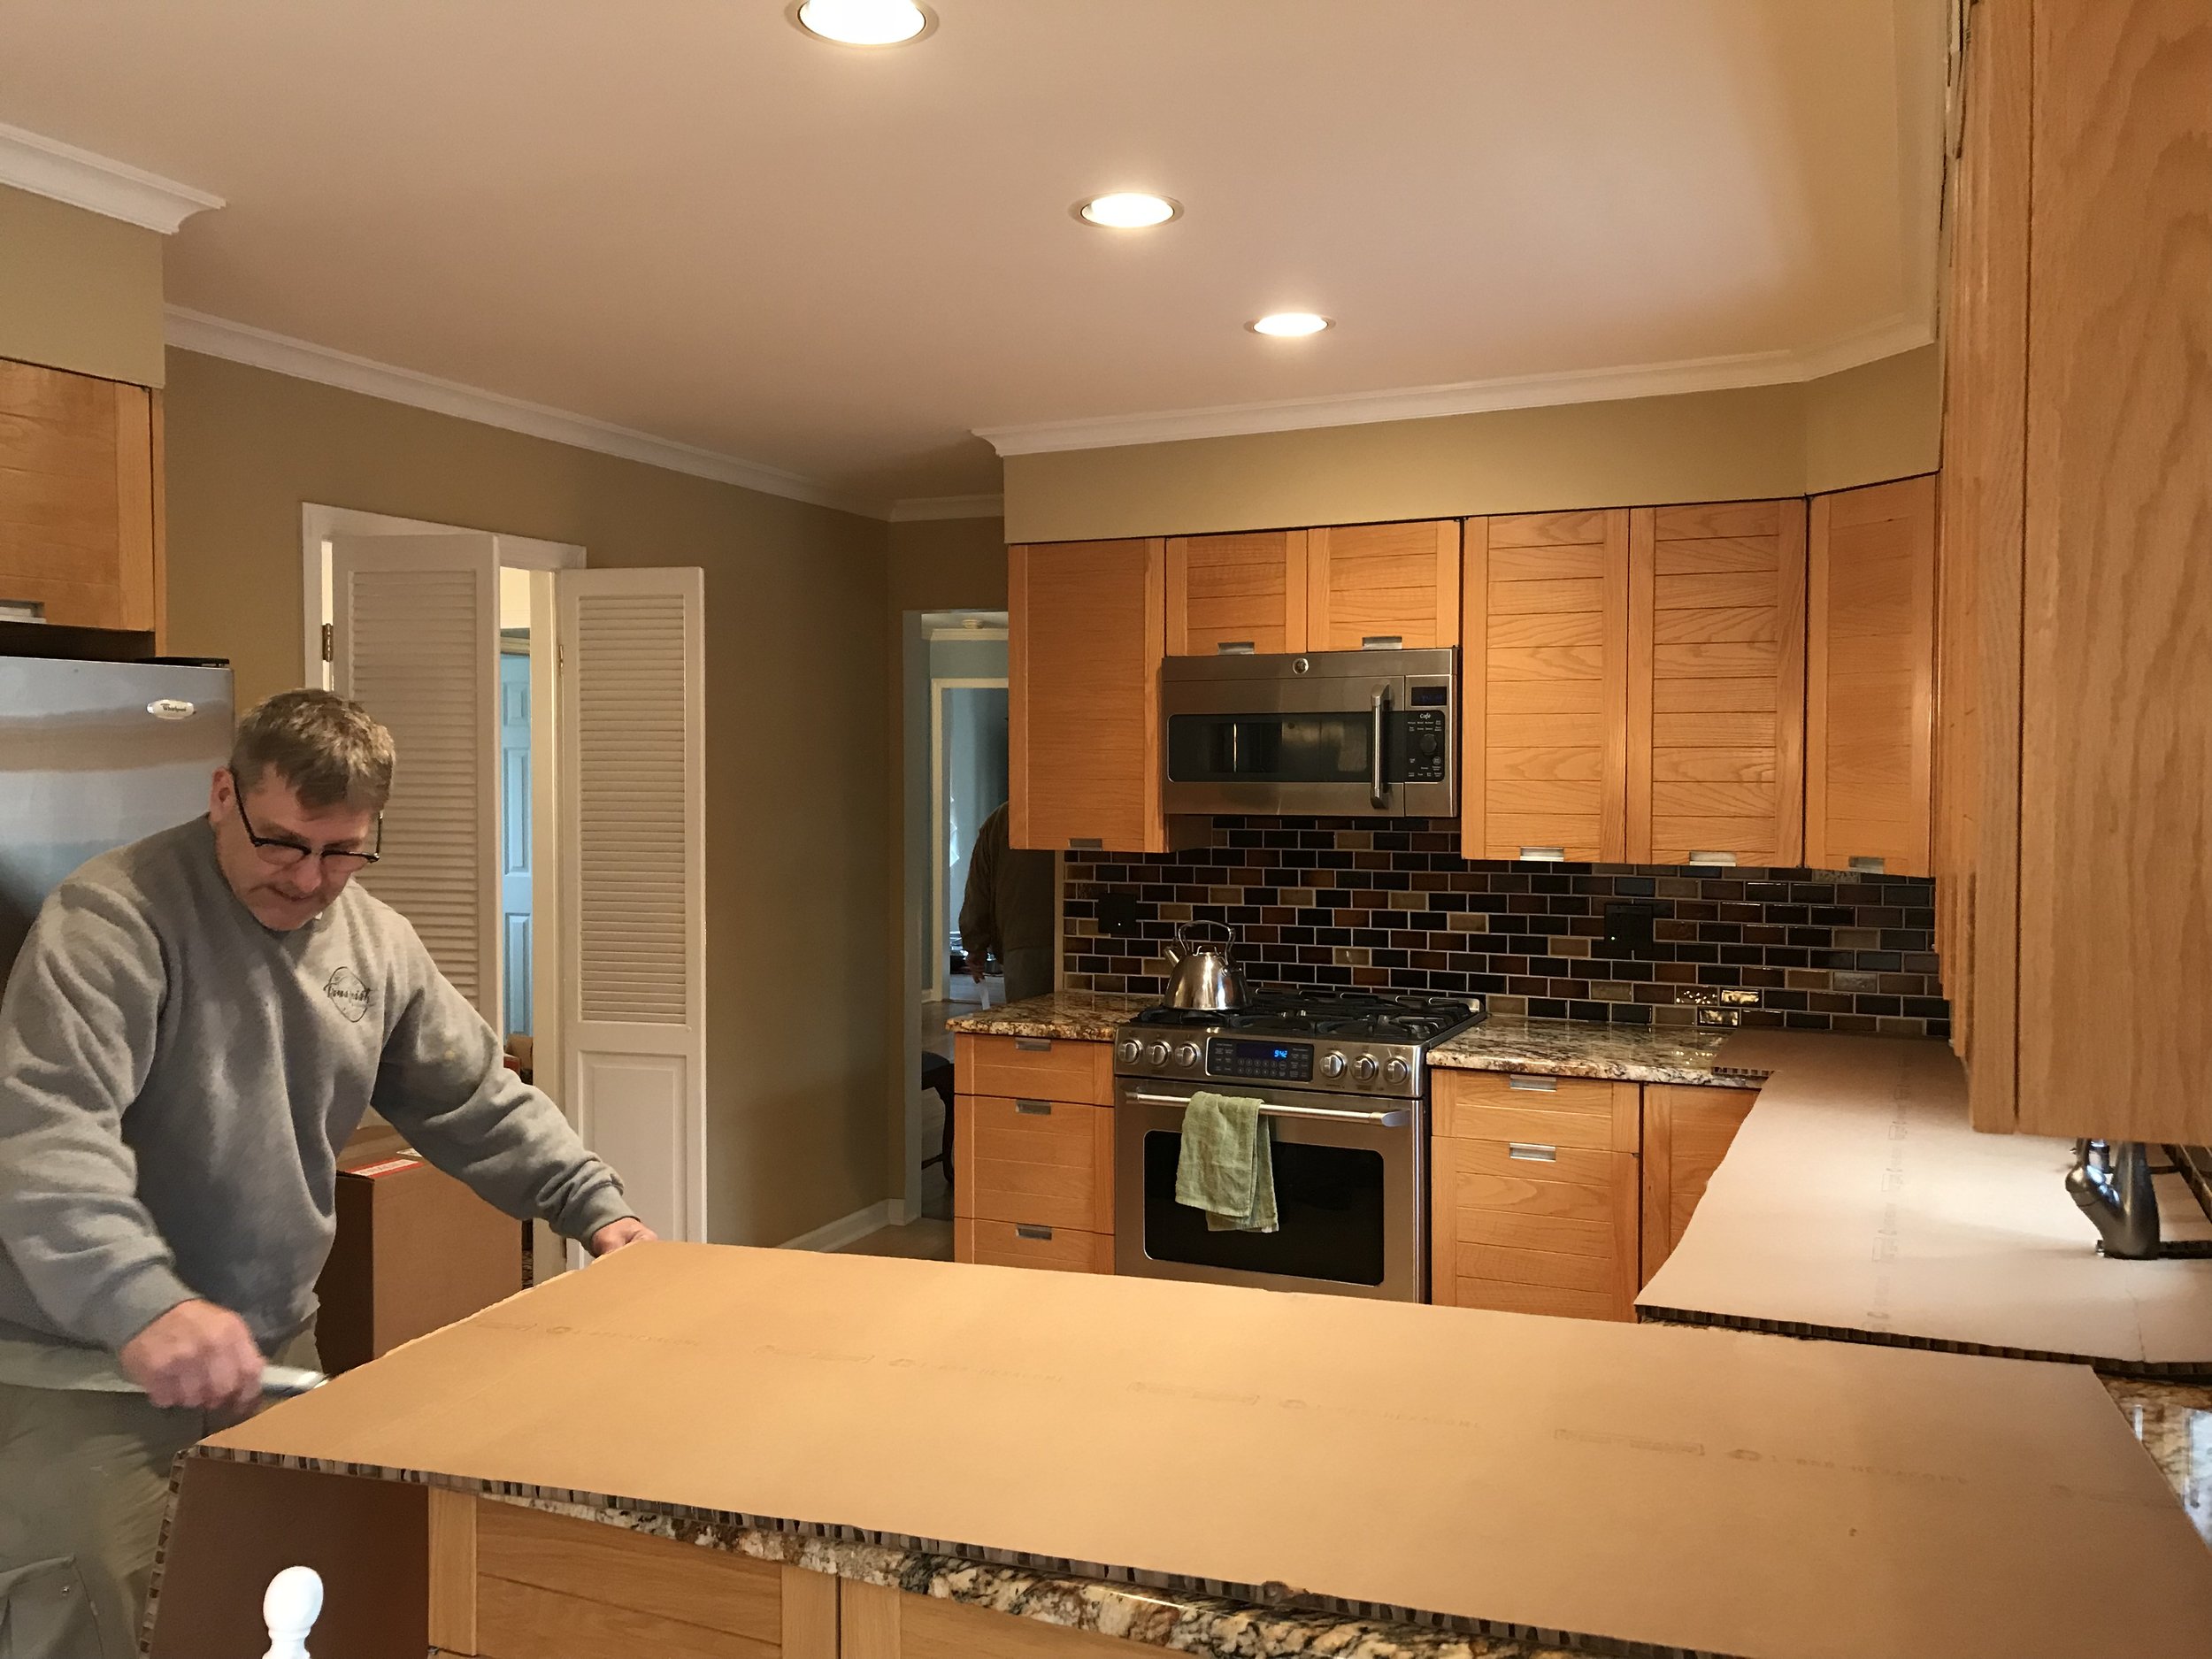
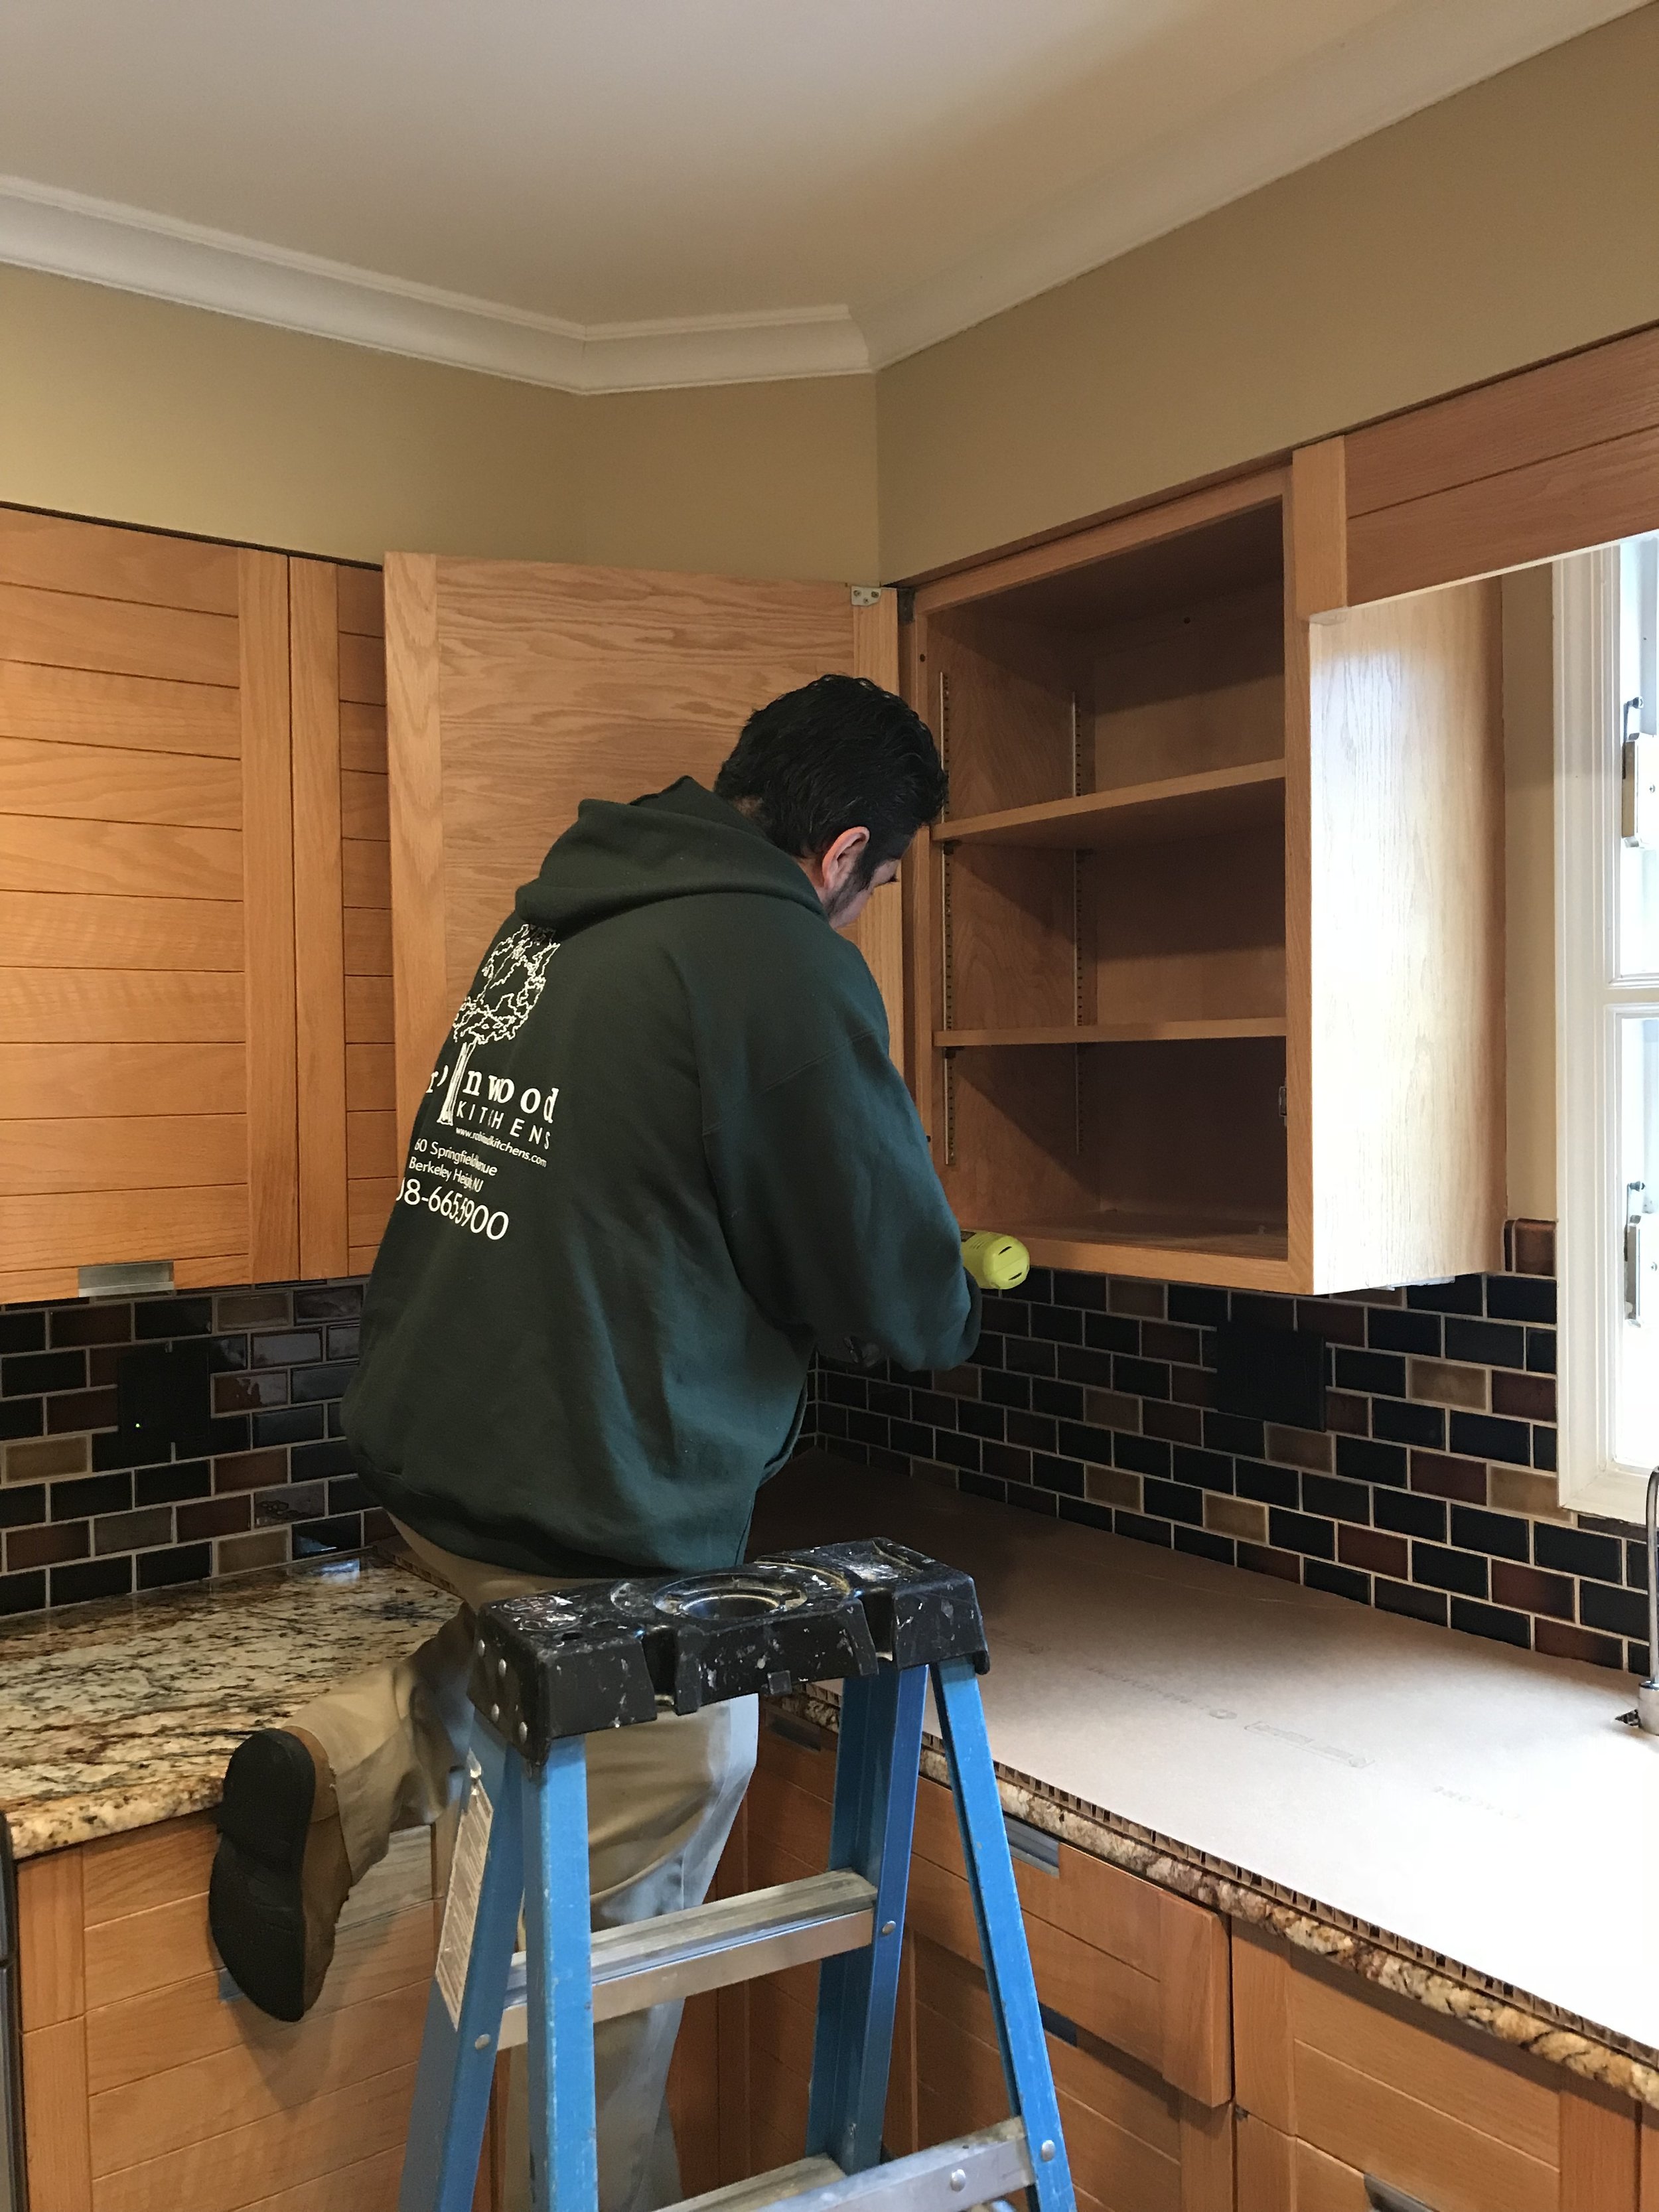
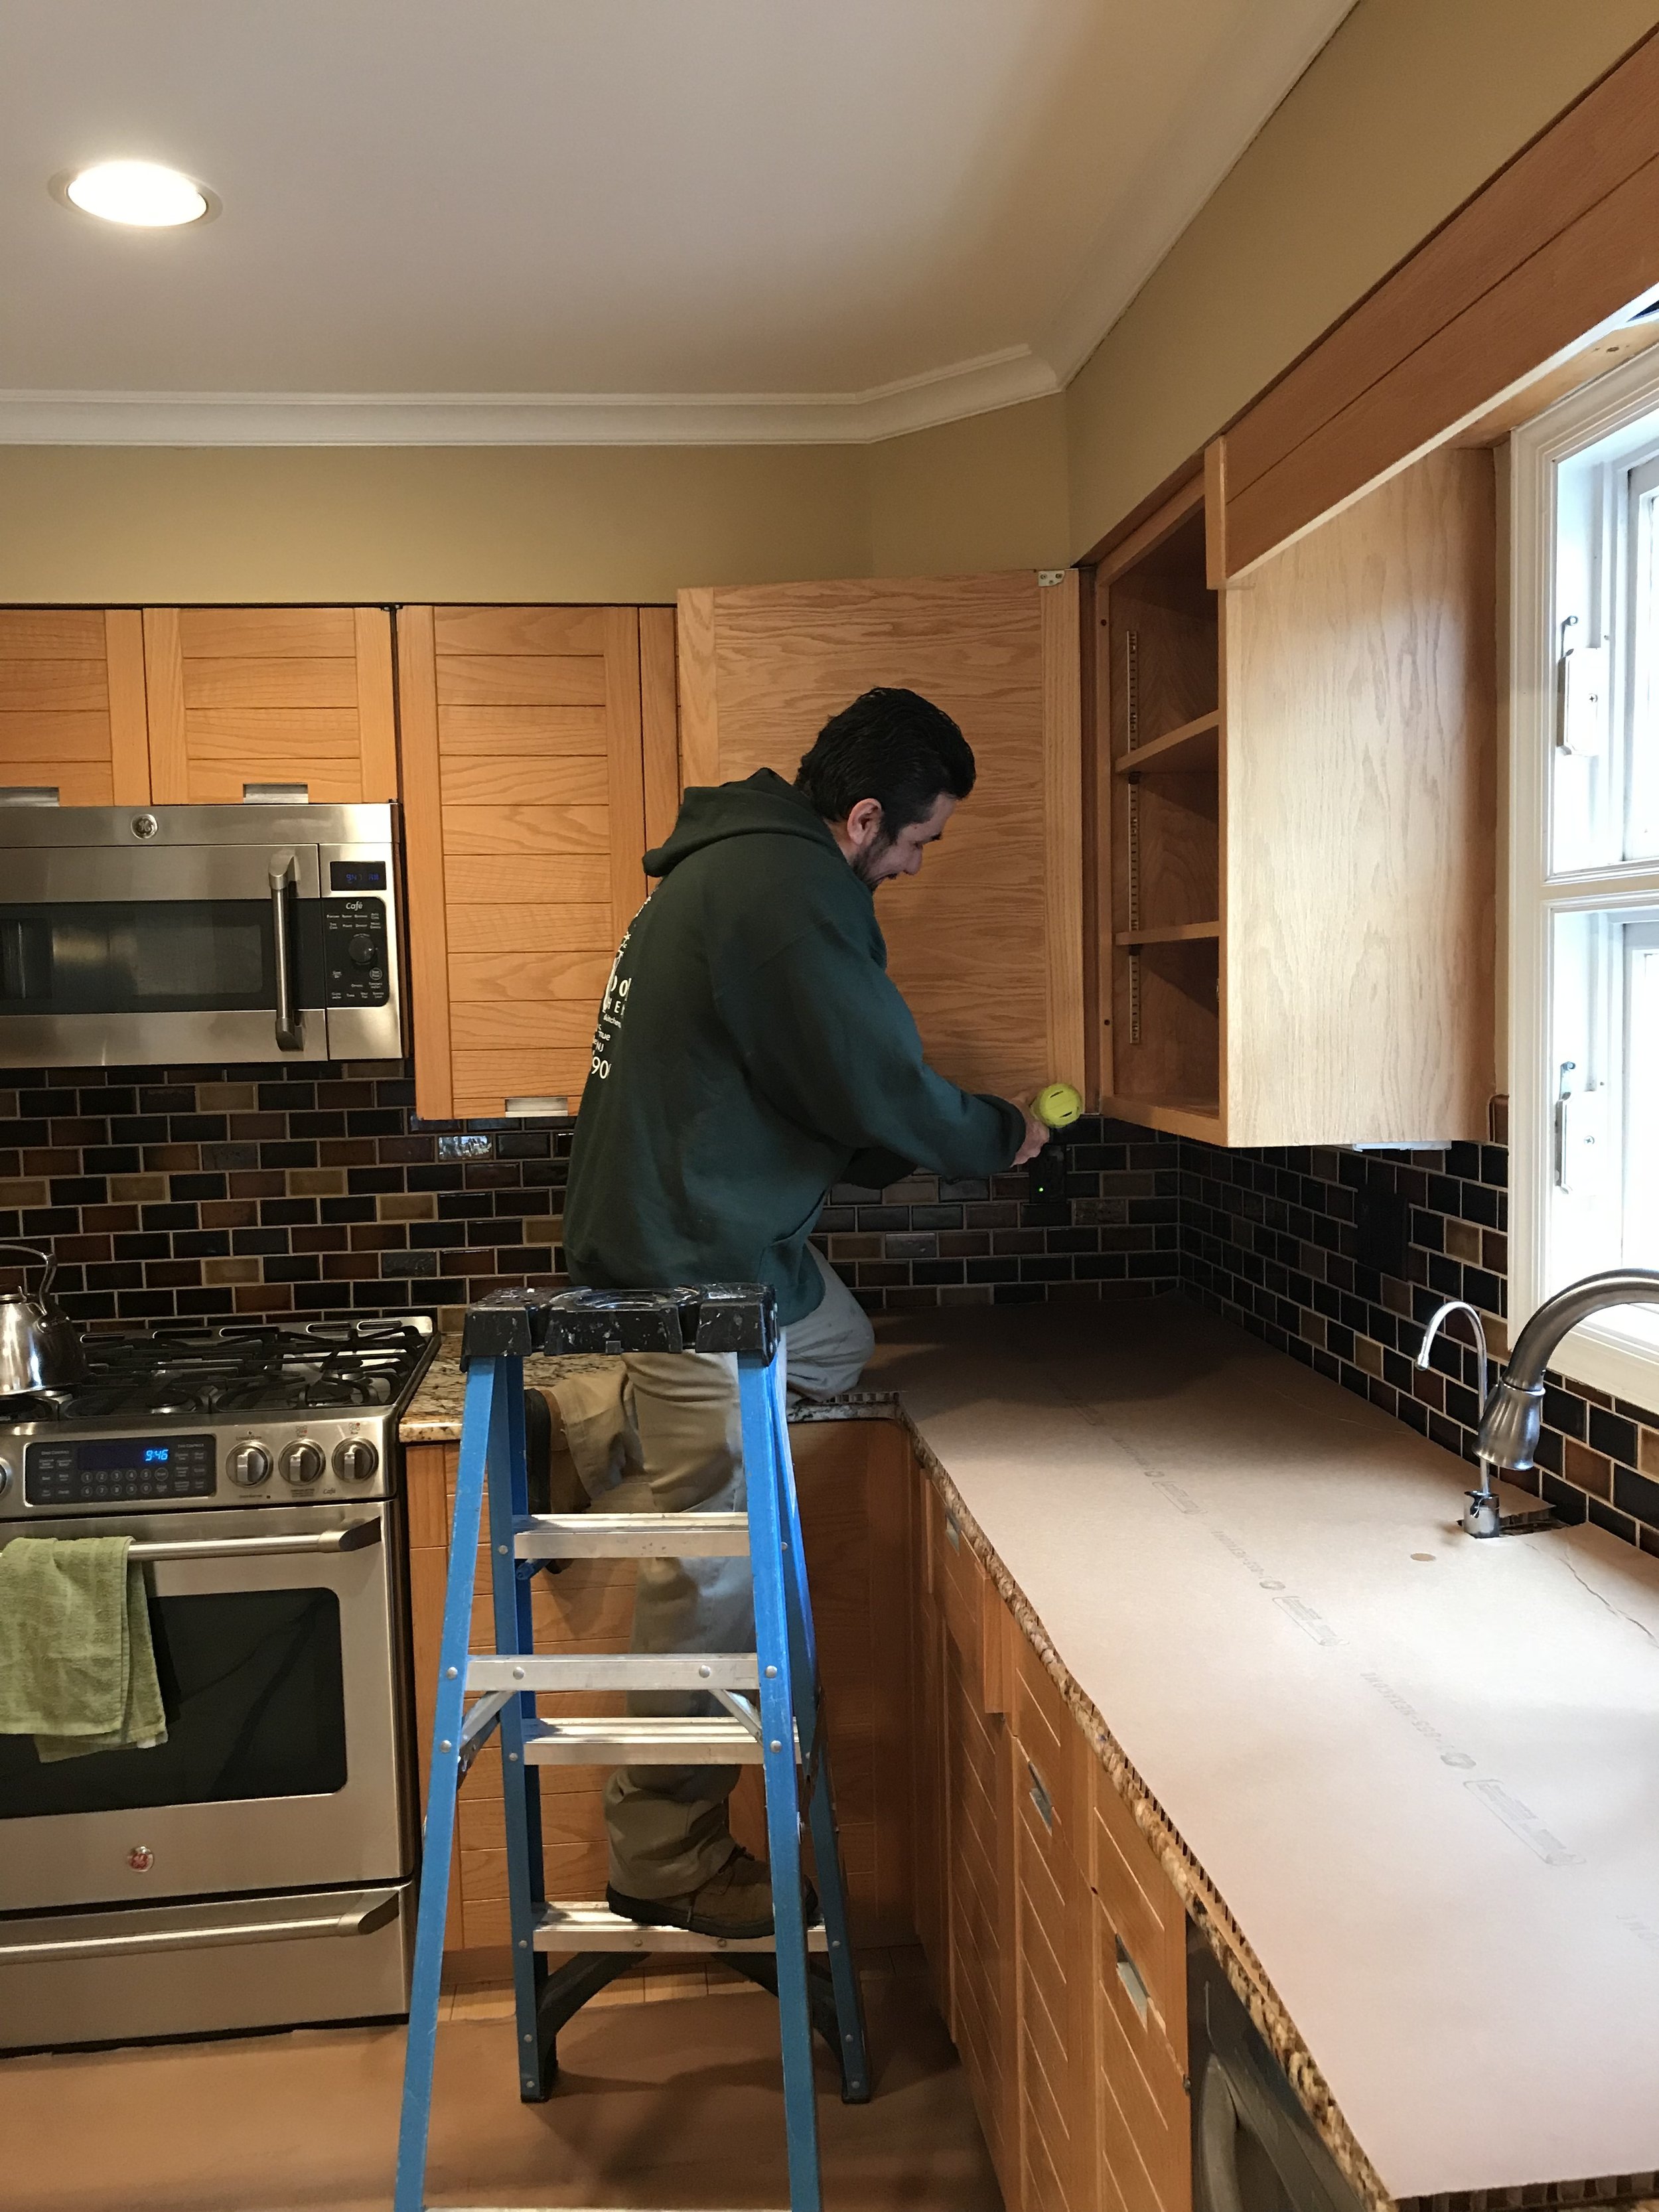
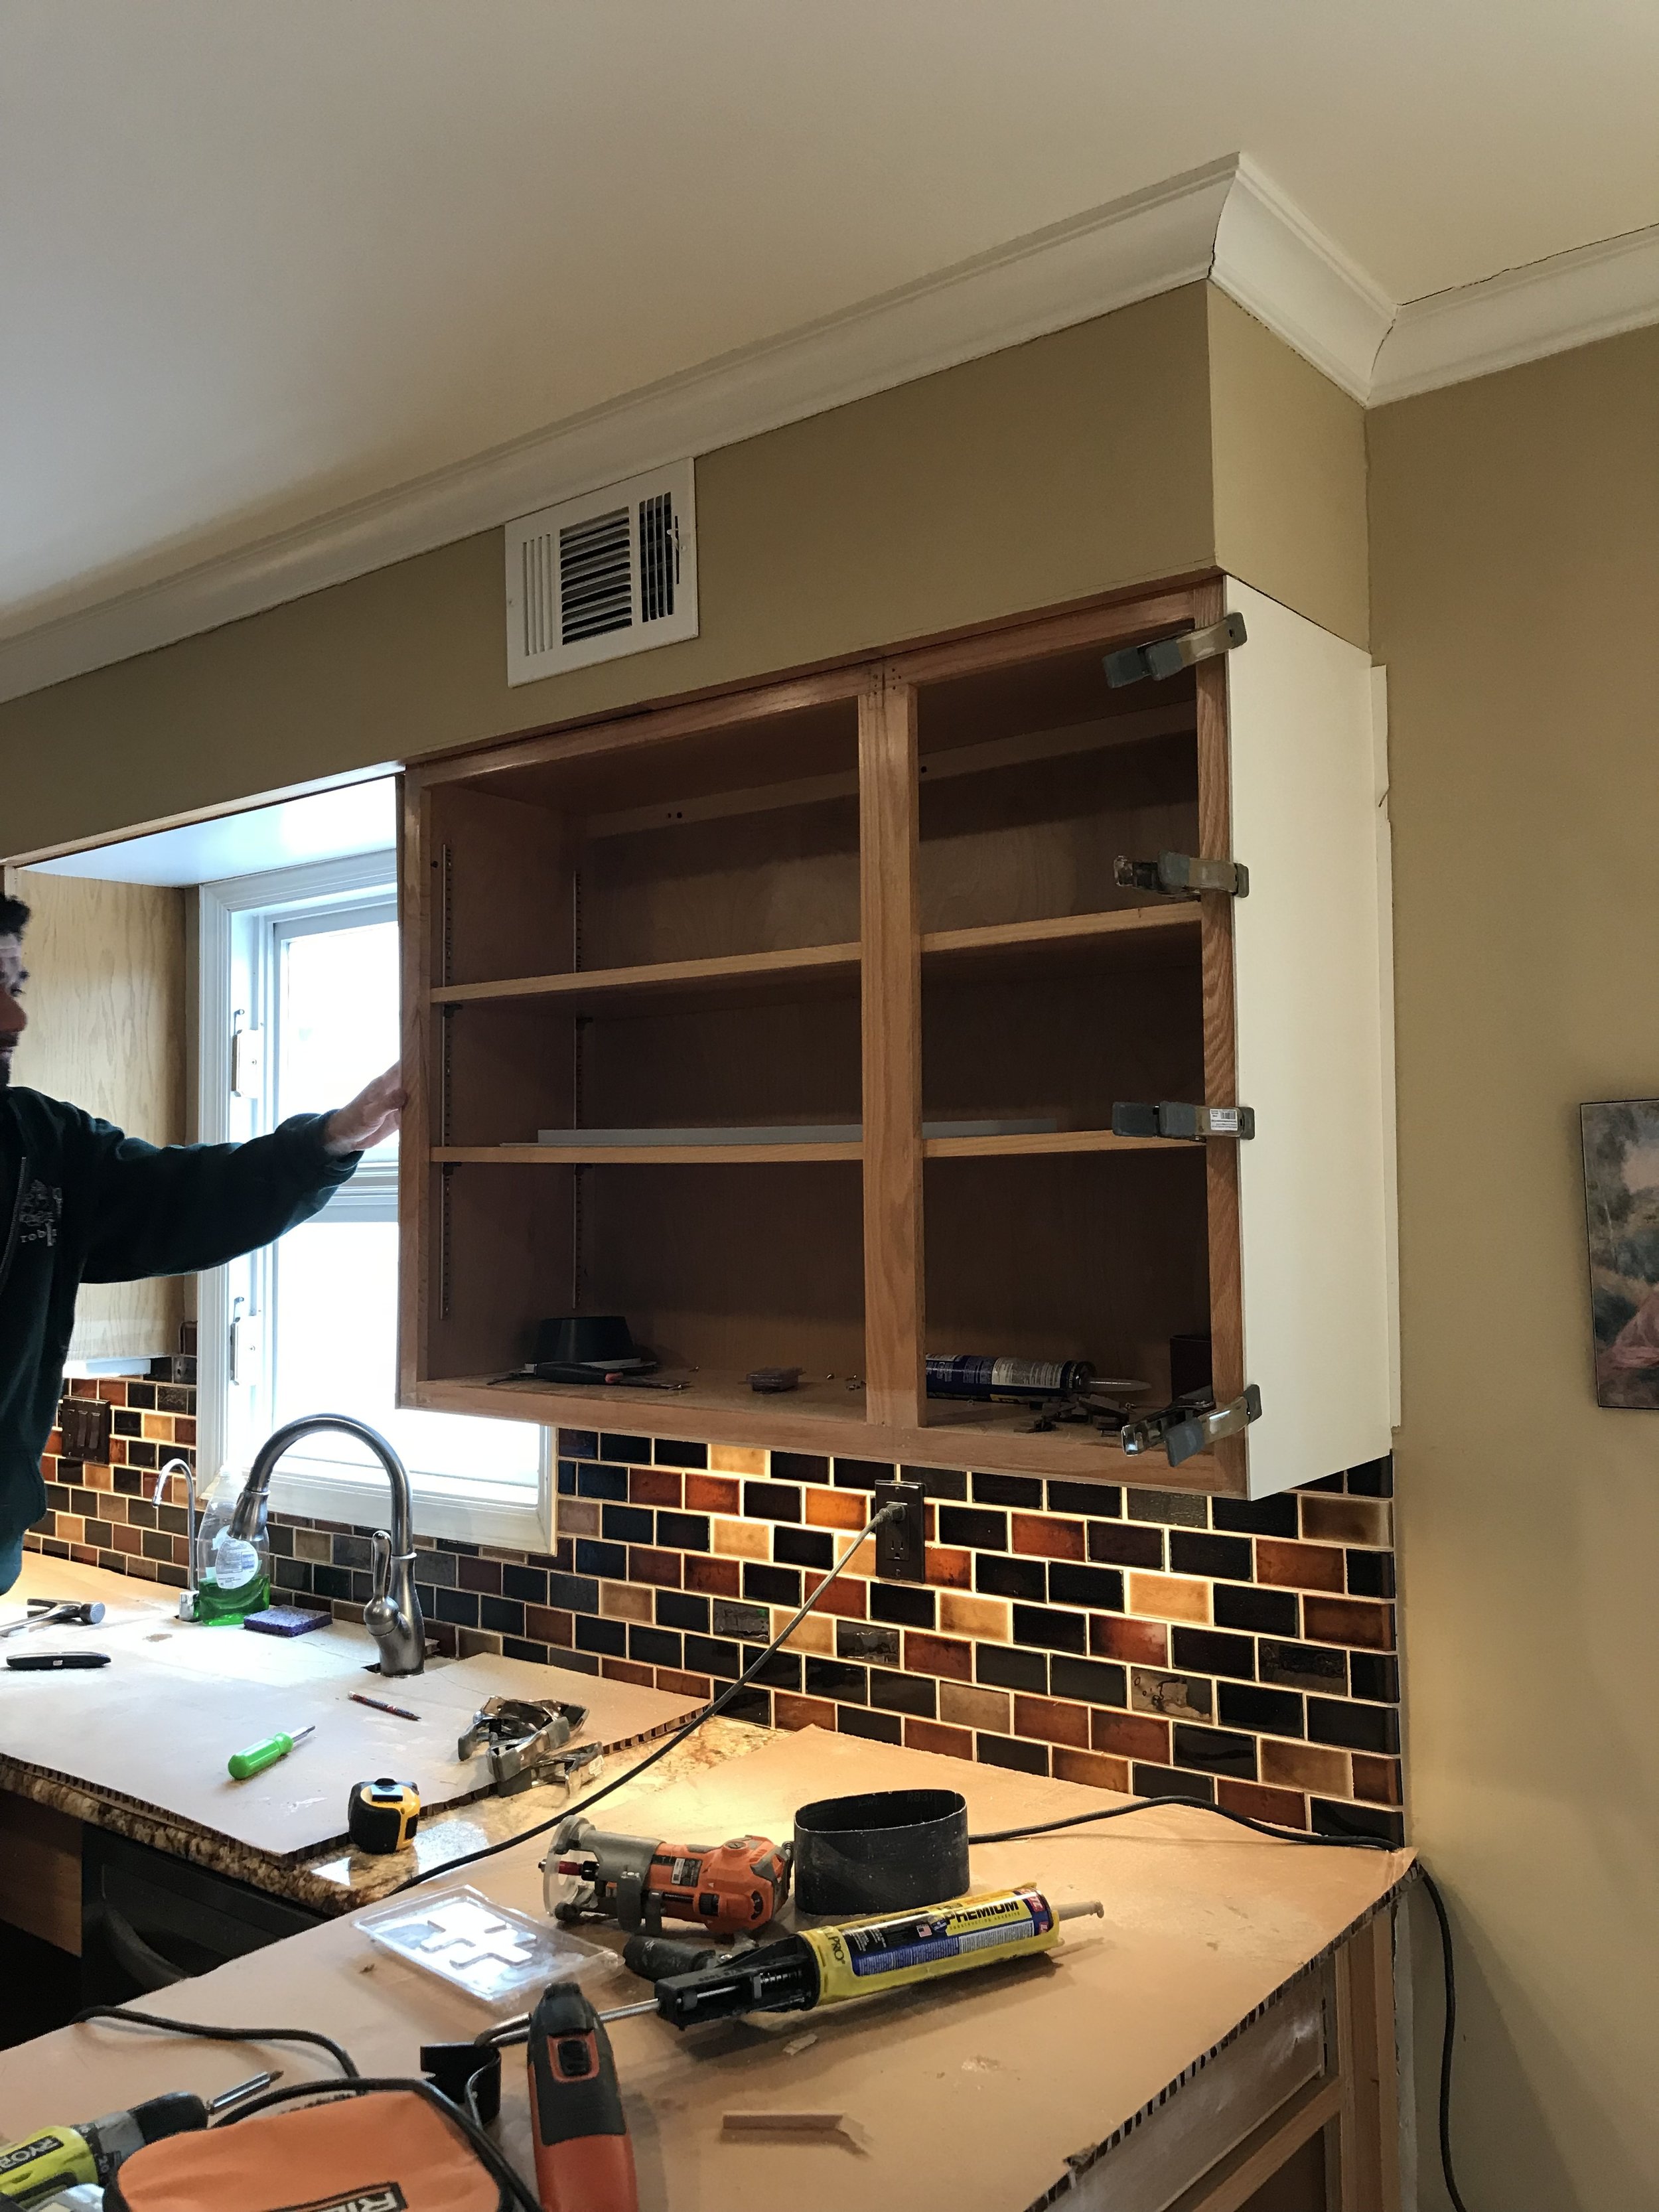
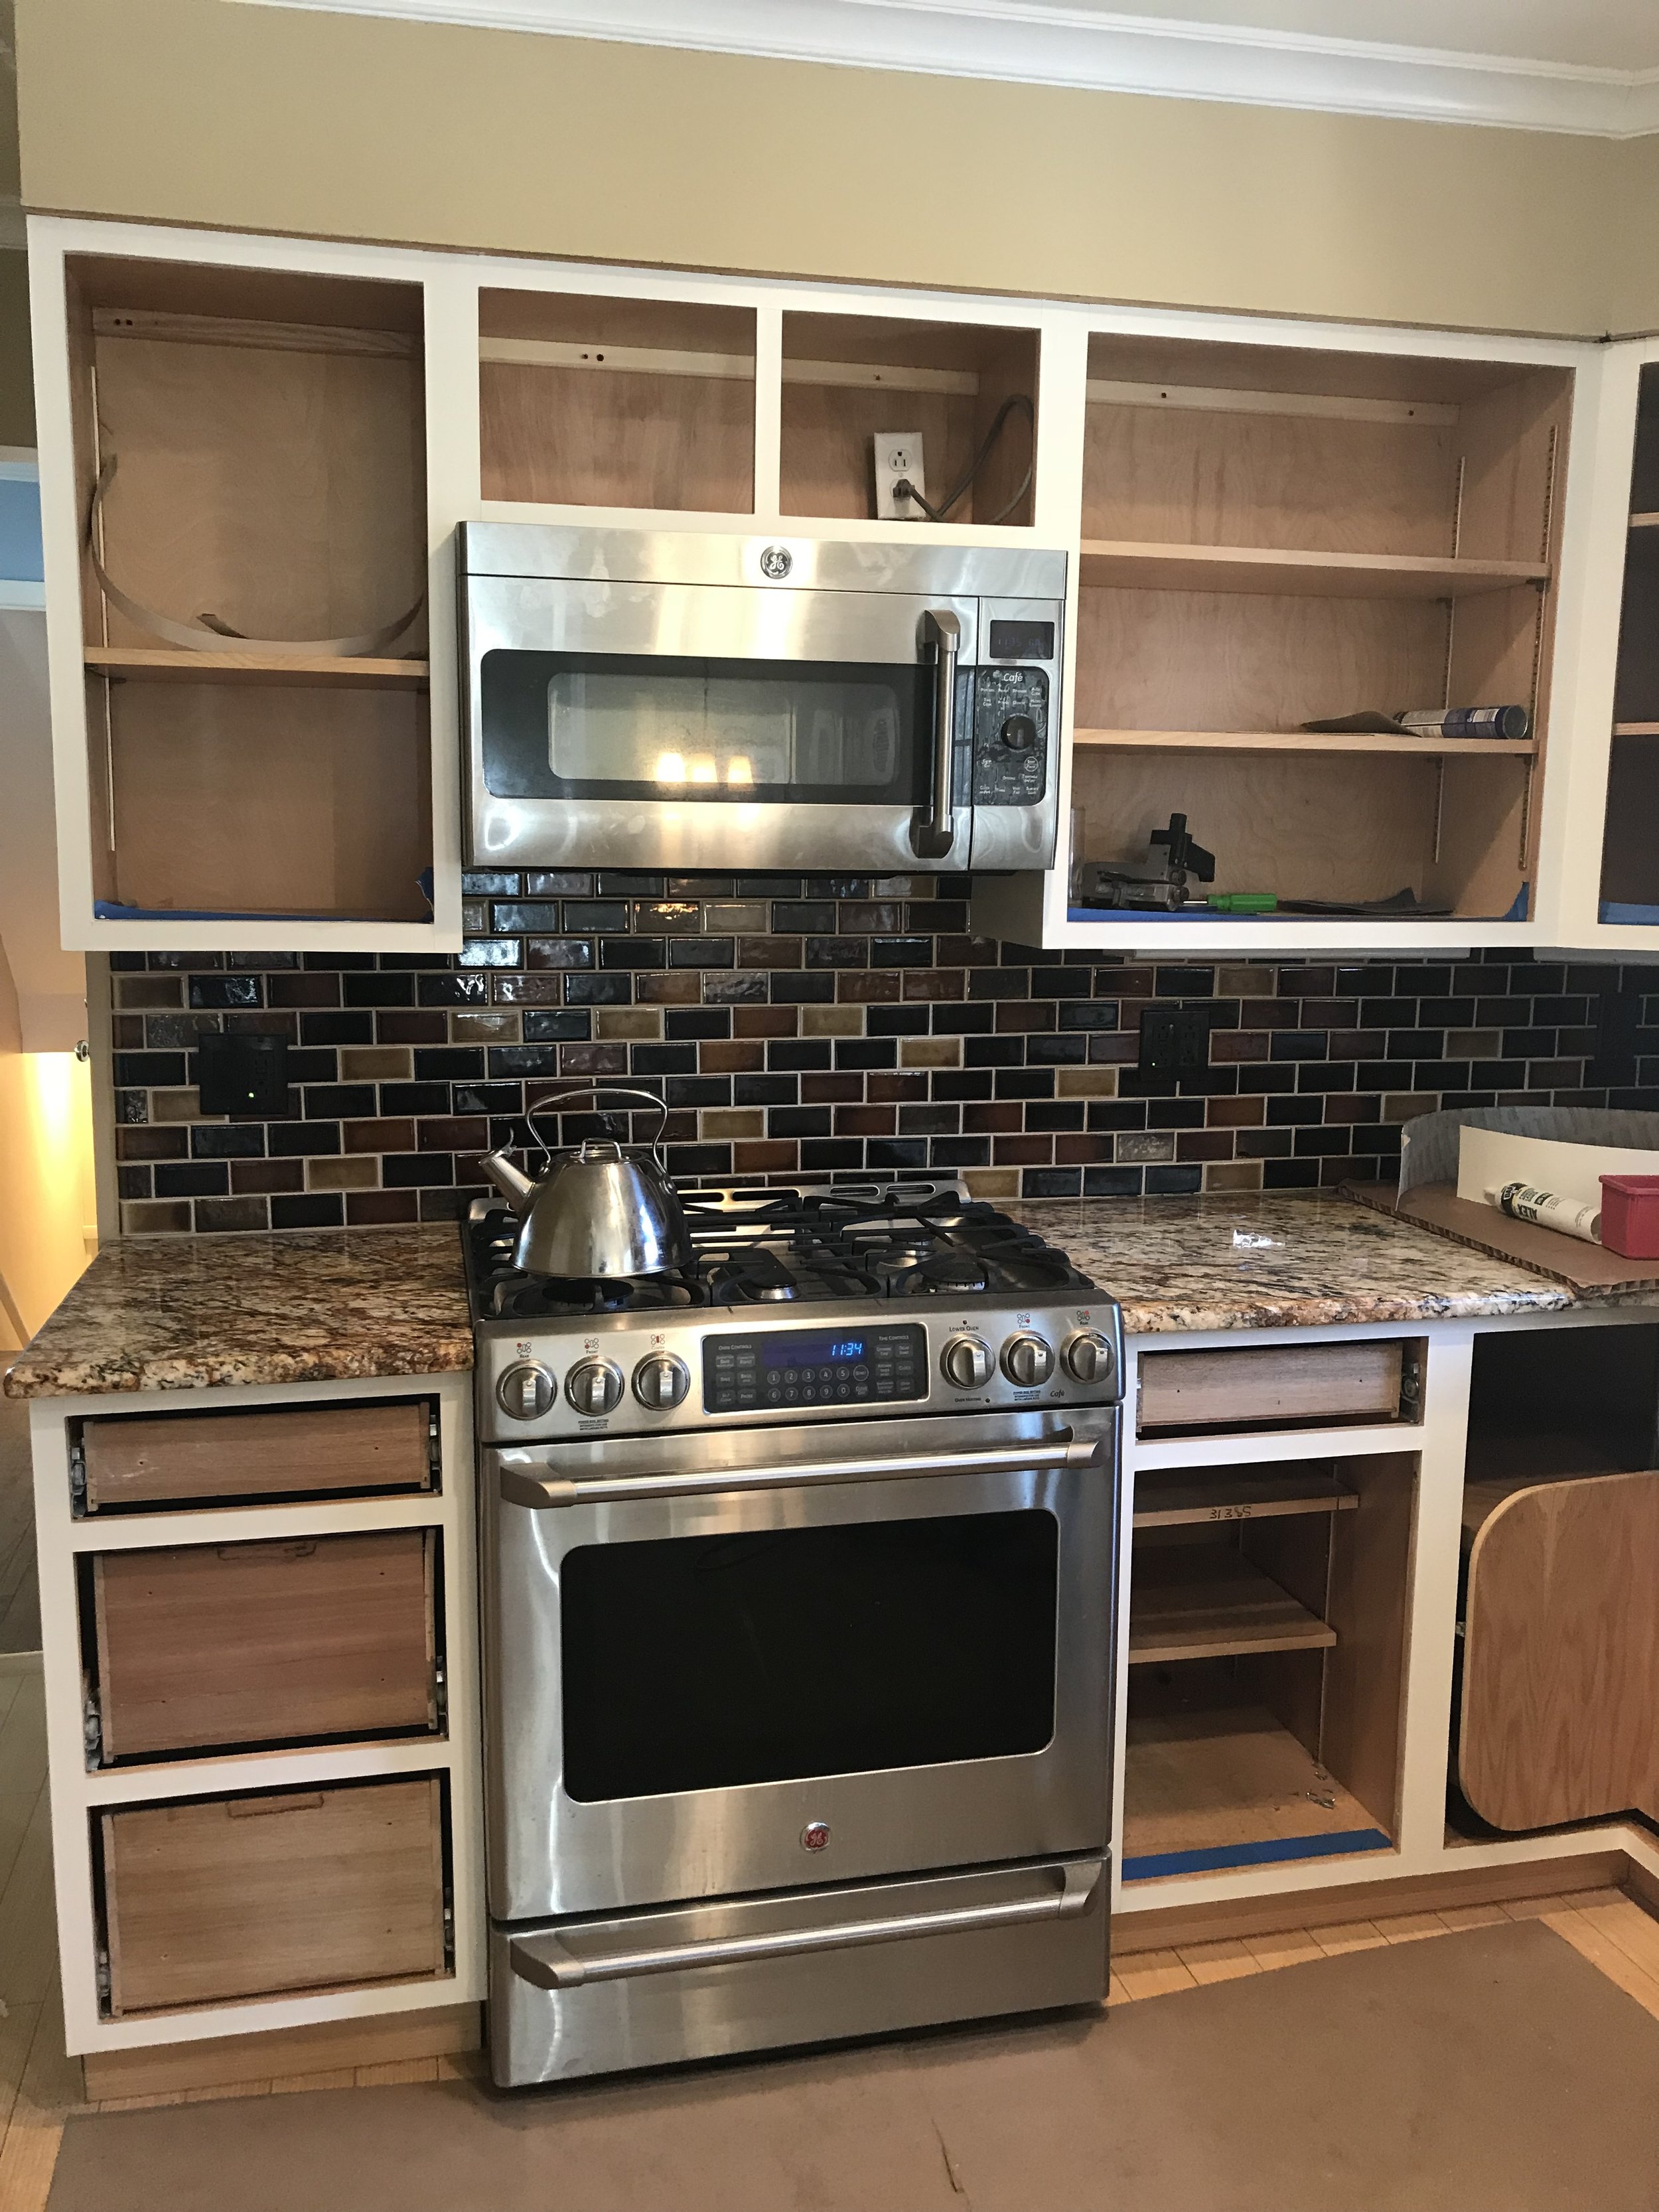
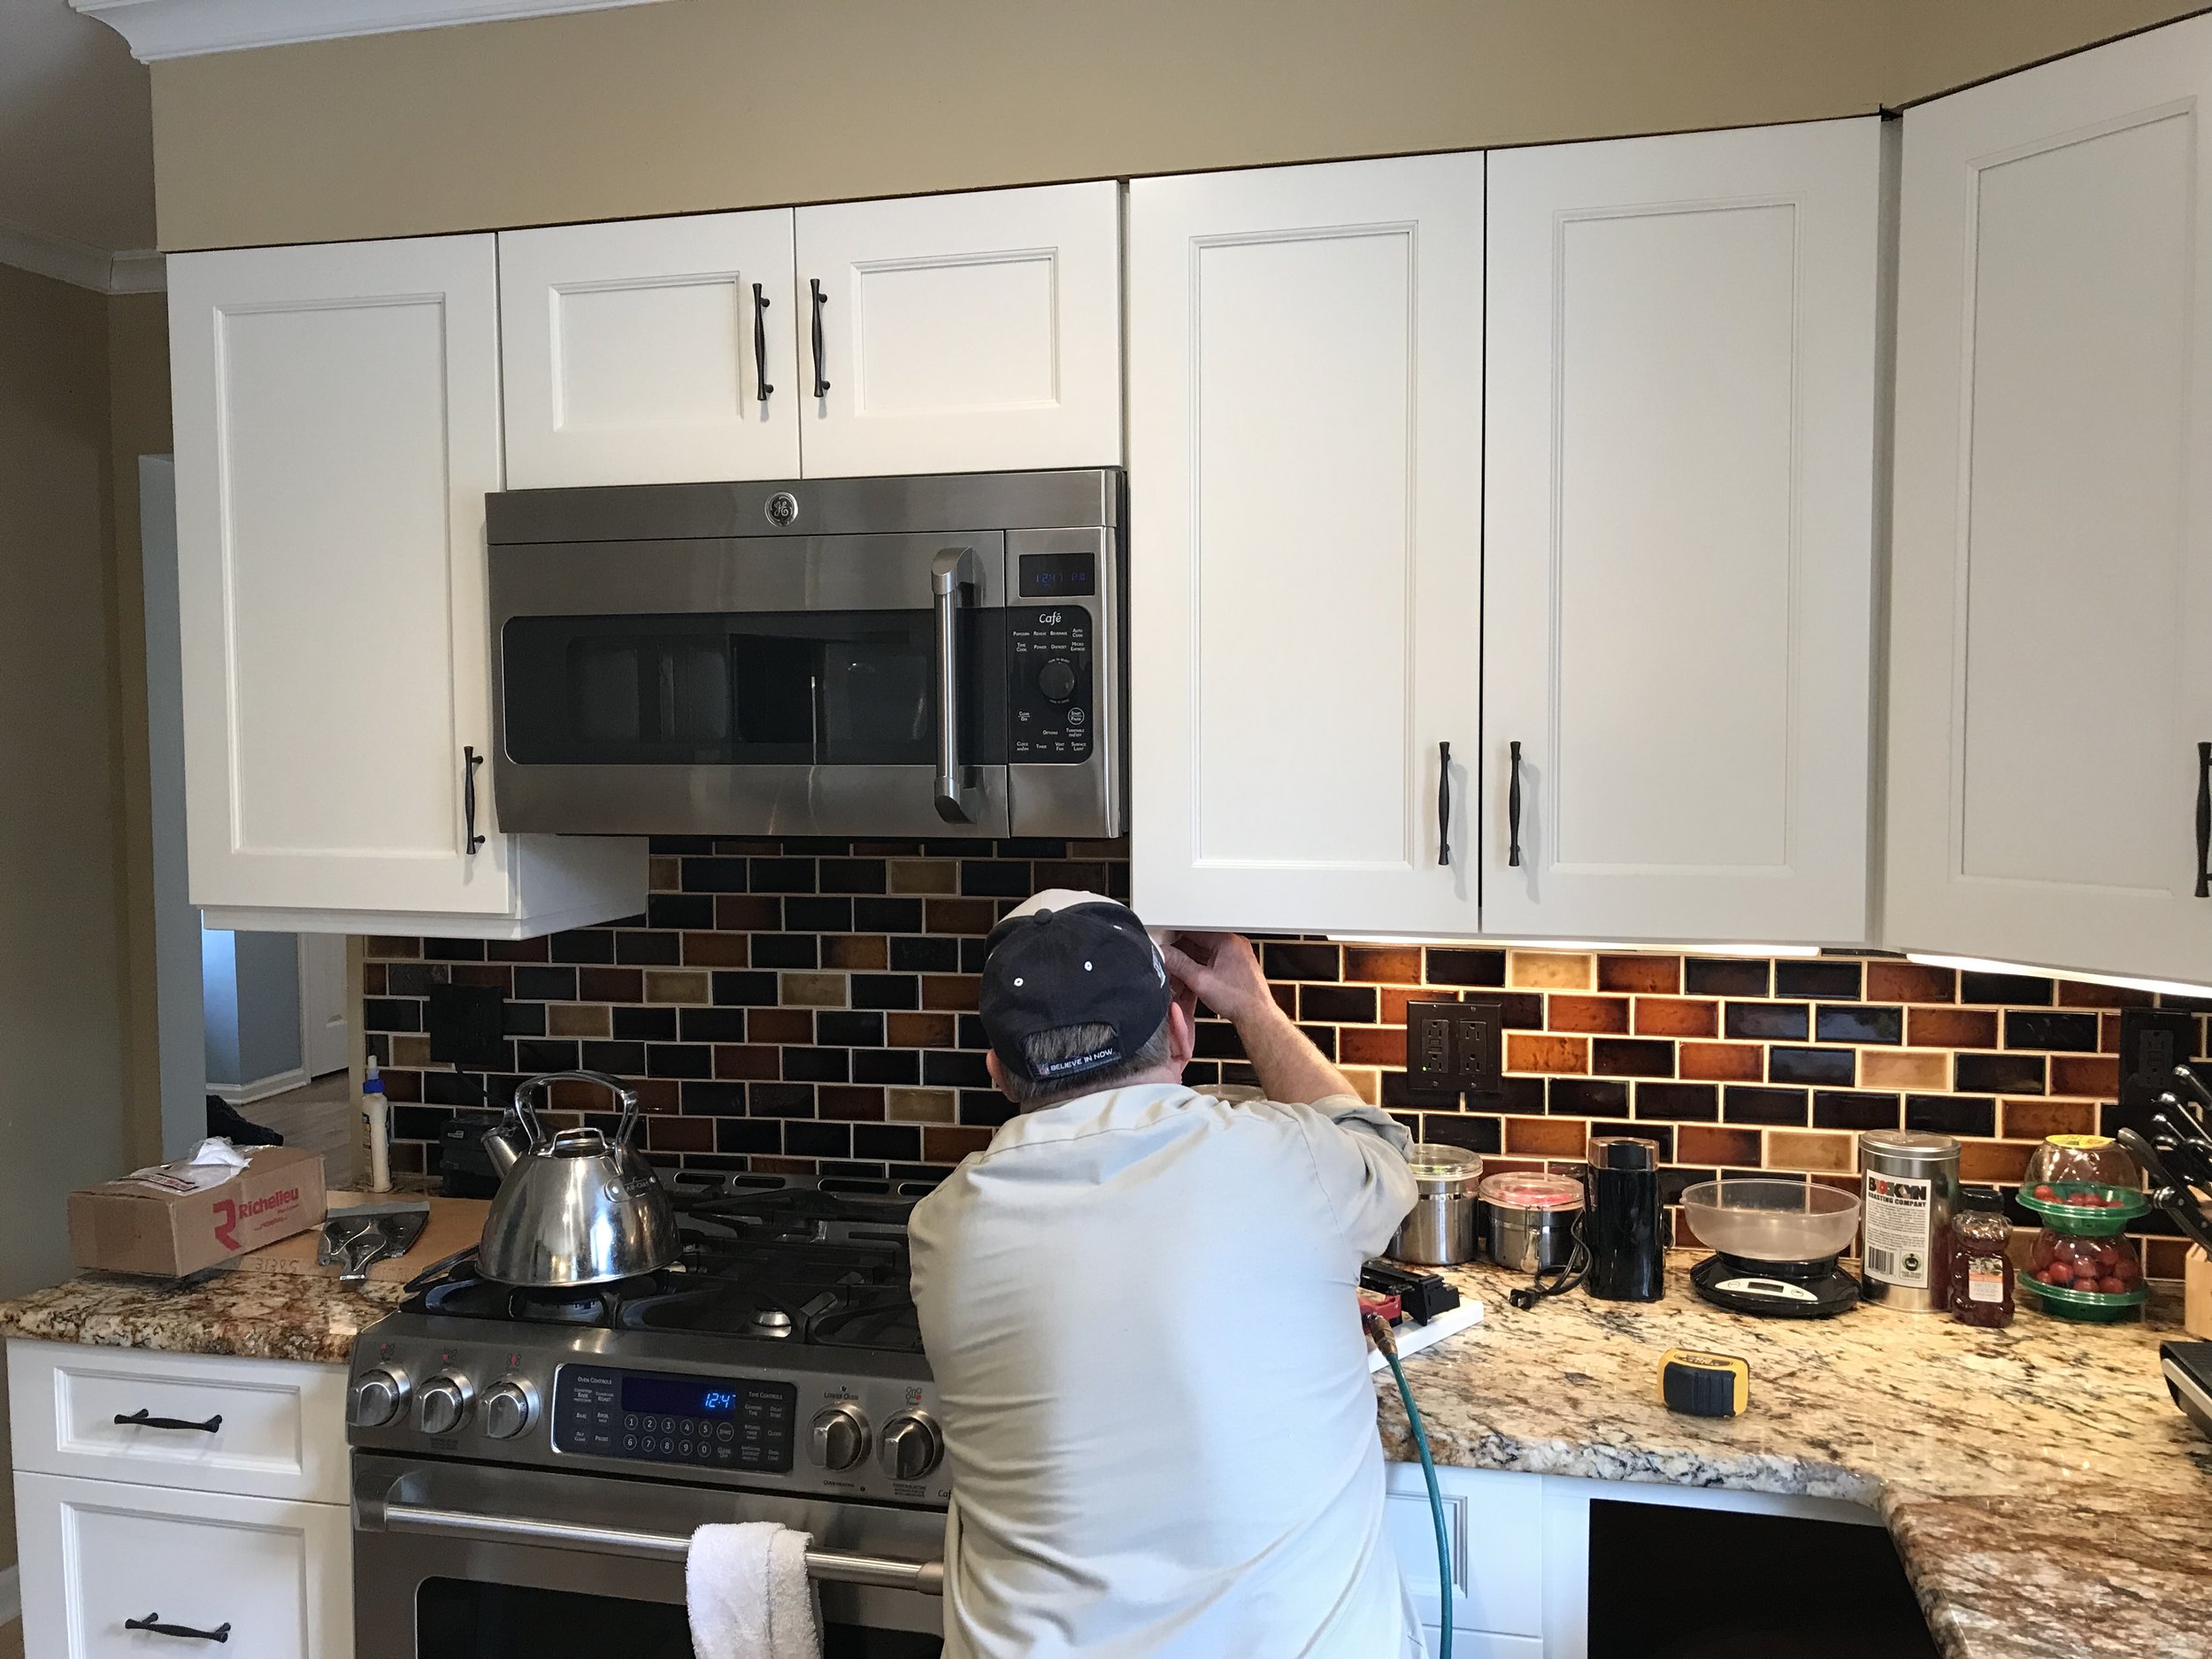
Step Four: Installation of Skins, Veneer, and Molding
This part of the process is the most time consuming and requires skill and patience from our experienced installers. This attention to detail results in a beautiful finished product.
Skins are an 1/8” finished end that we use for the sides of wall, base, and tall cabinets, and also to finish the bottom of wall cabinets. Each one is cut to fit the individual cabinetry from a large 24” x 96” piece. They are attached to the cabinetry with construction adhesive and small pin nails.
Veneer is a thin material, approximately 1/32”, that we use for the front frames of all the cabinetry. Robinwood prefers to use all wood products for our refacing work, which results in a long lasting and durable finish. The veneer is wood-back and comes with a pressure sensitive adhesive coating. Similar to the skins, veneer is cut to fit the individual cabinet frames from a large sheet of veneer. Before applying the veneer, we coat the cabinetry with additional adhesive. This adhesive in combination with the PSA wood-back veneer, ensures proper adhesion and performance.
The addition of crown, light rail, and base moldings will also bring the kitchen to the next level.

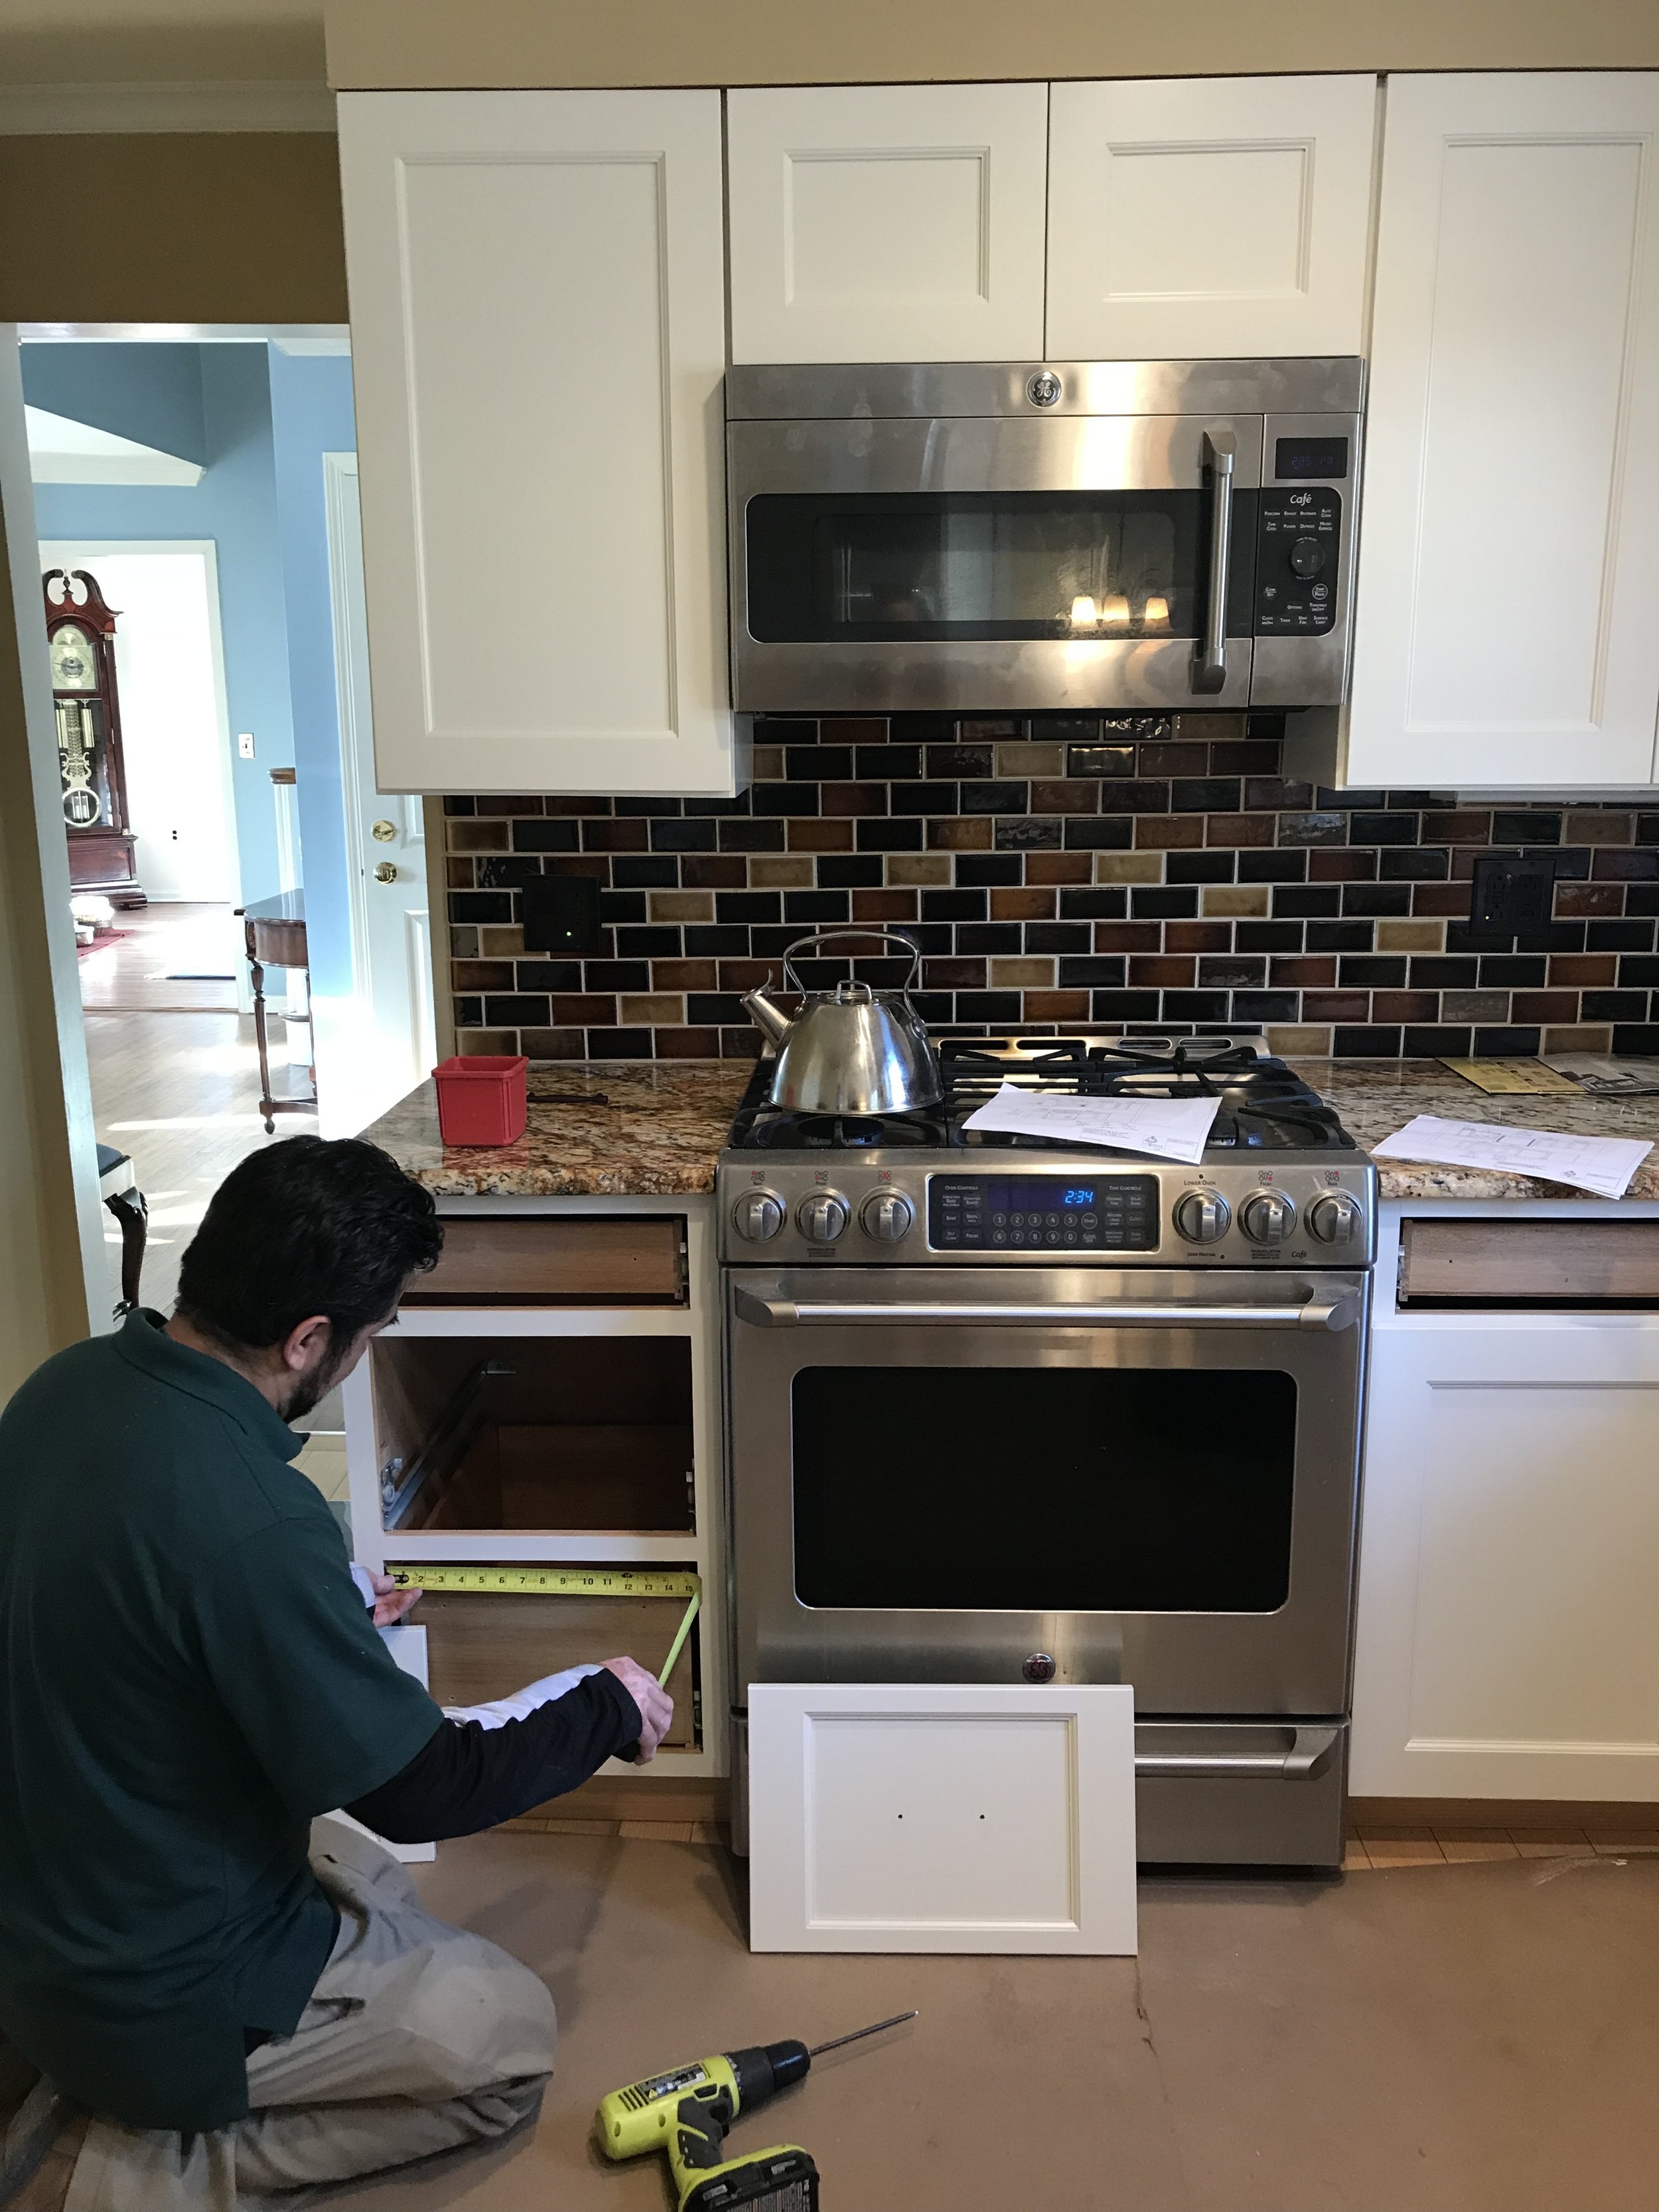
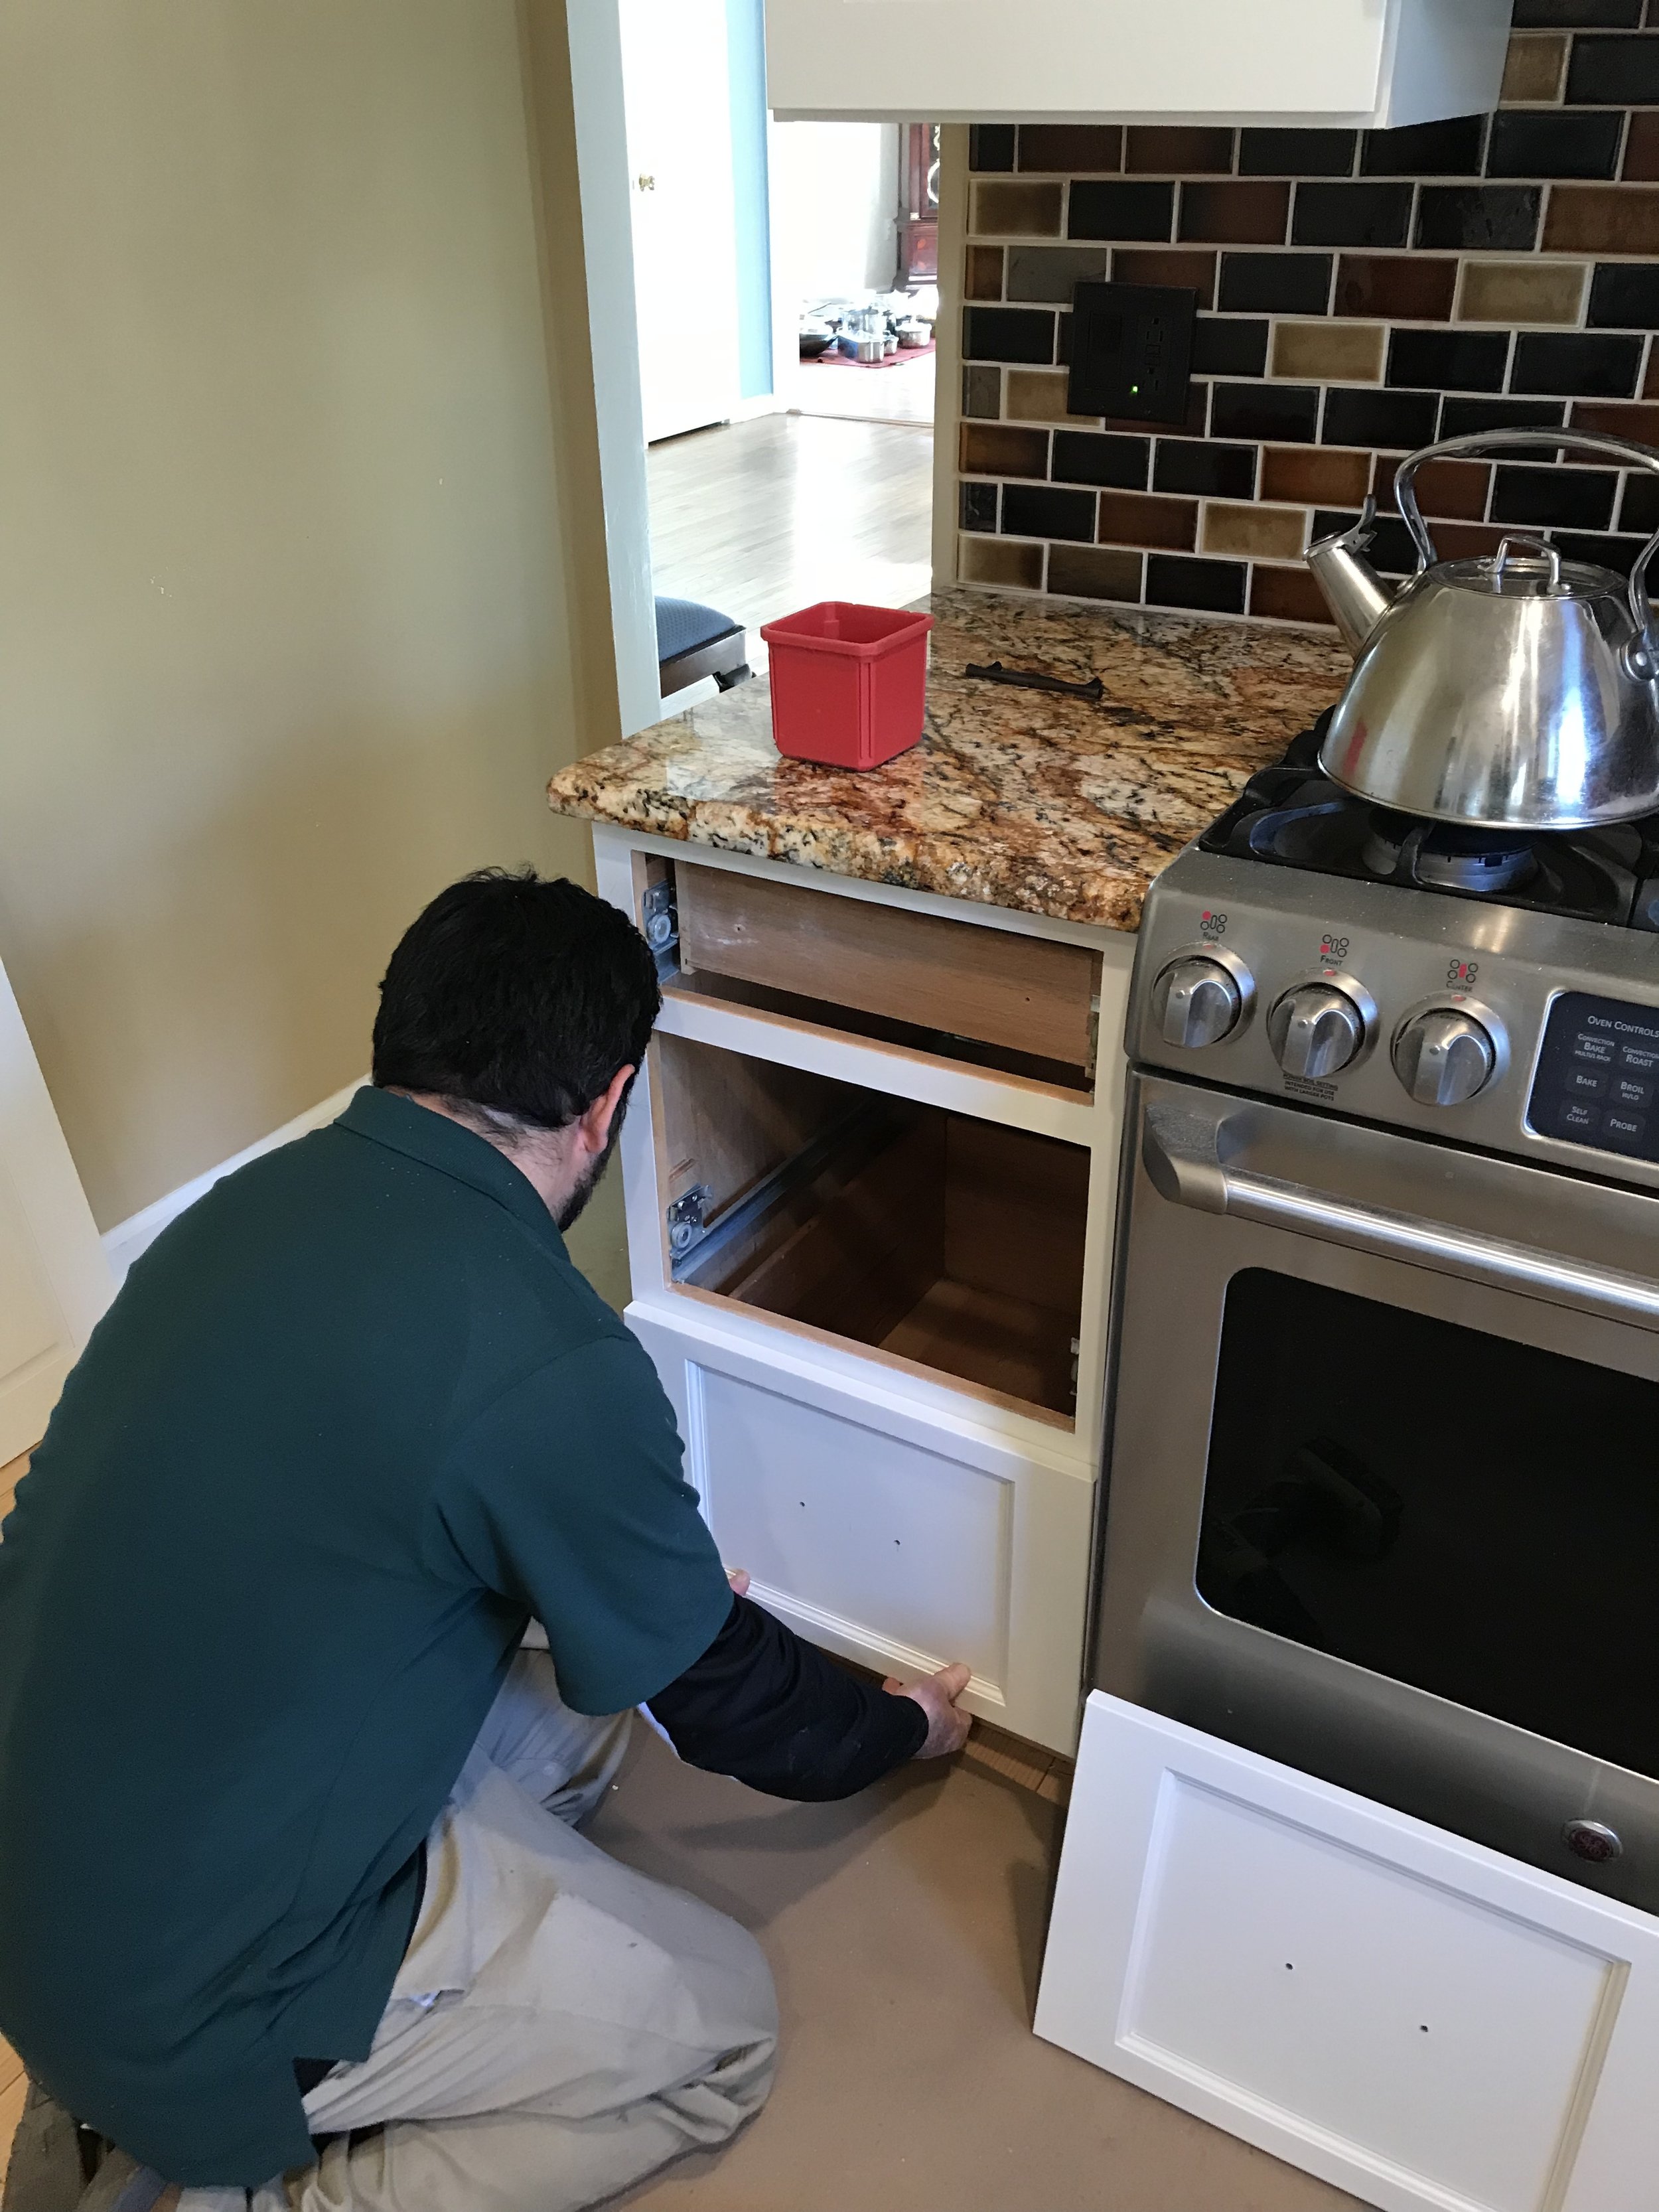
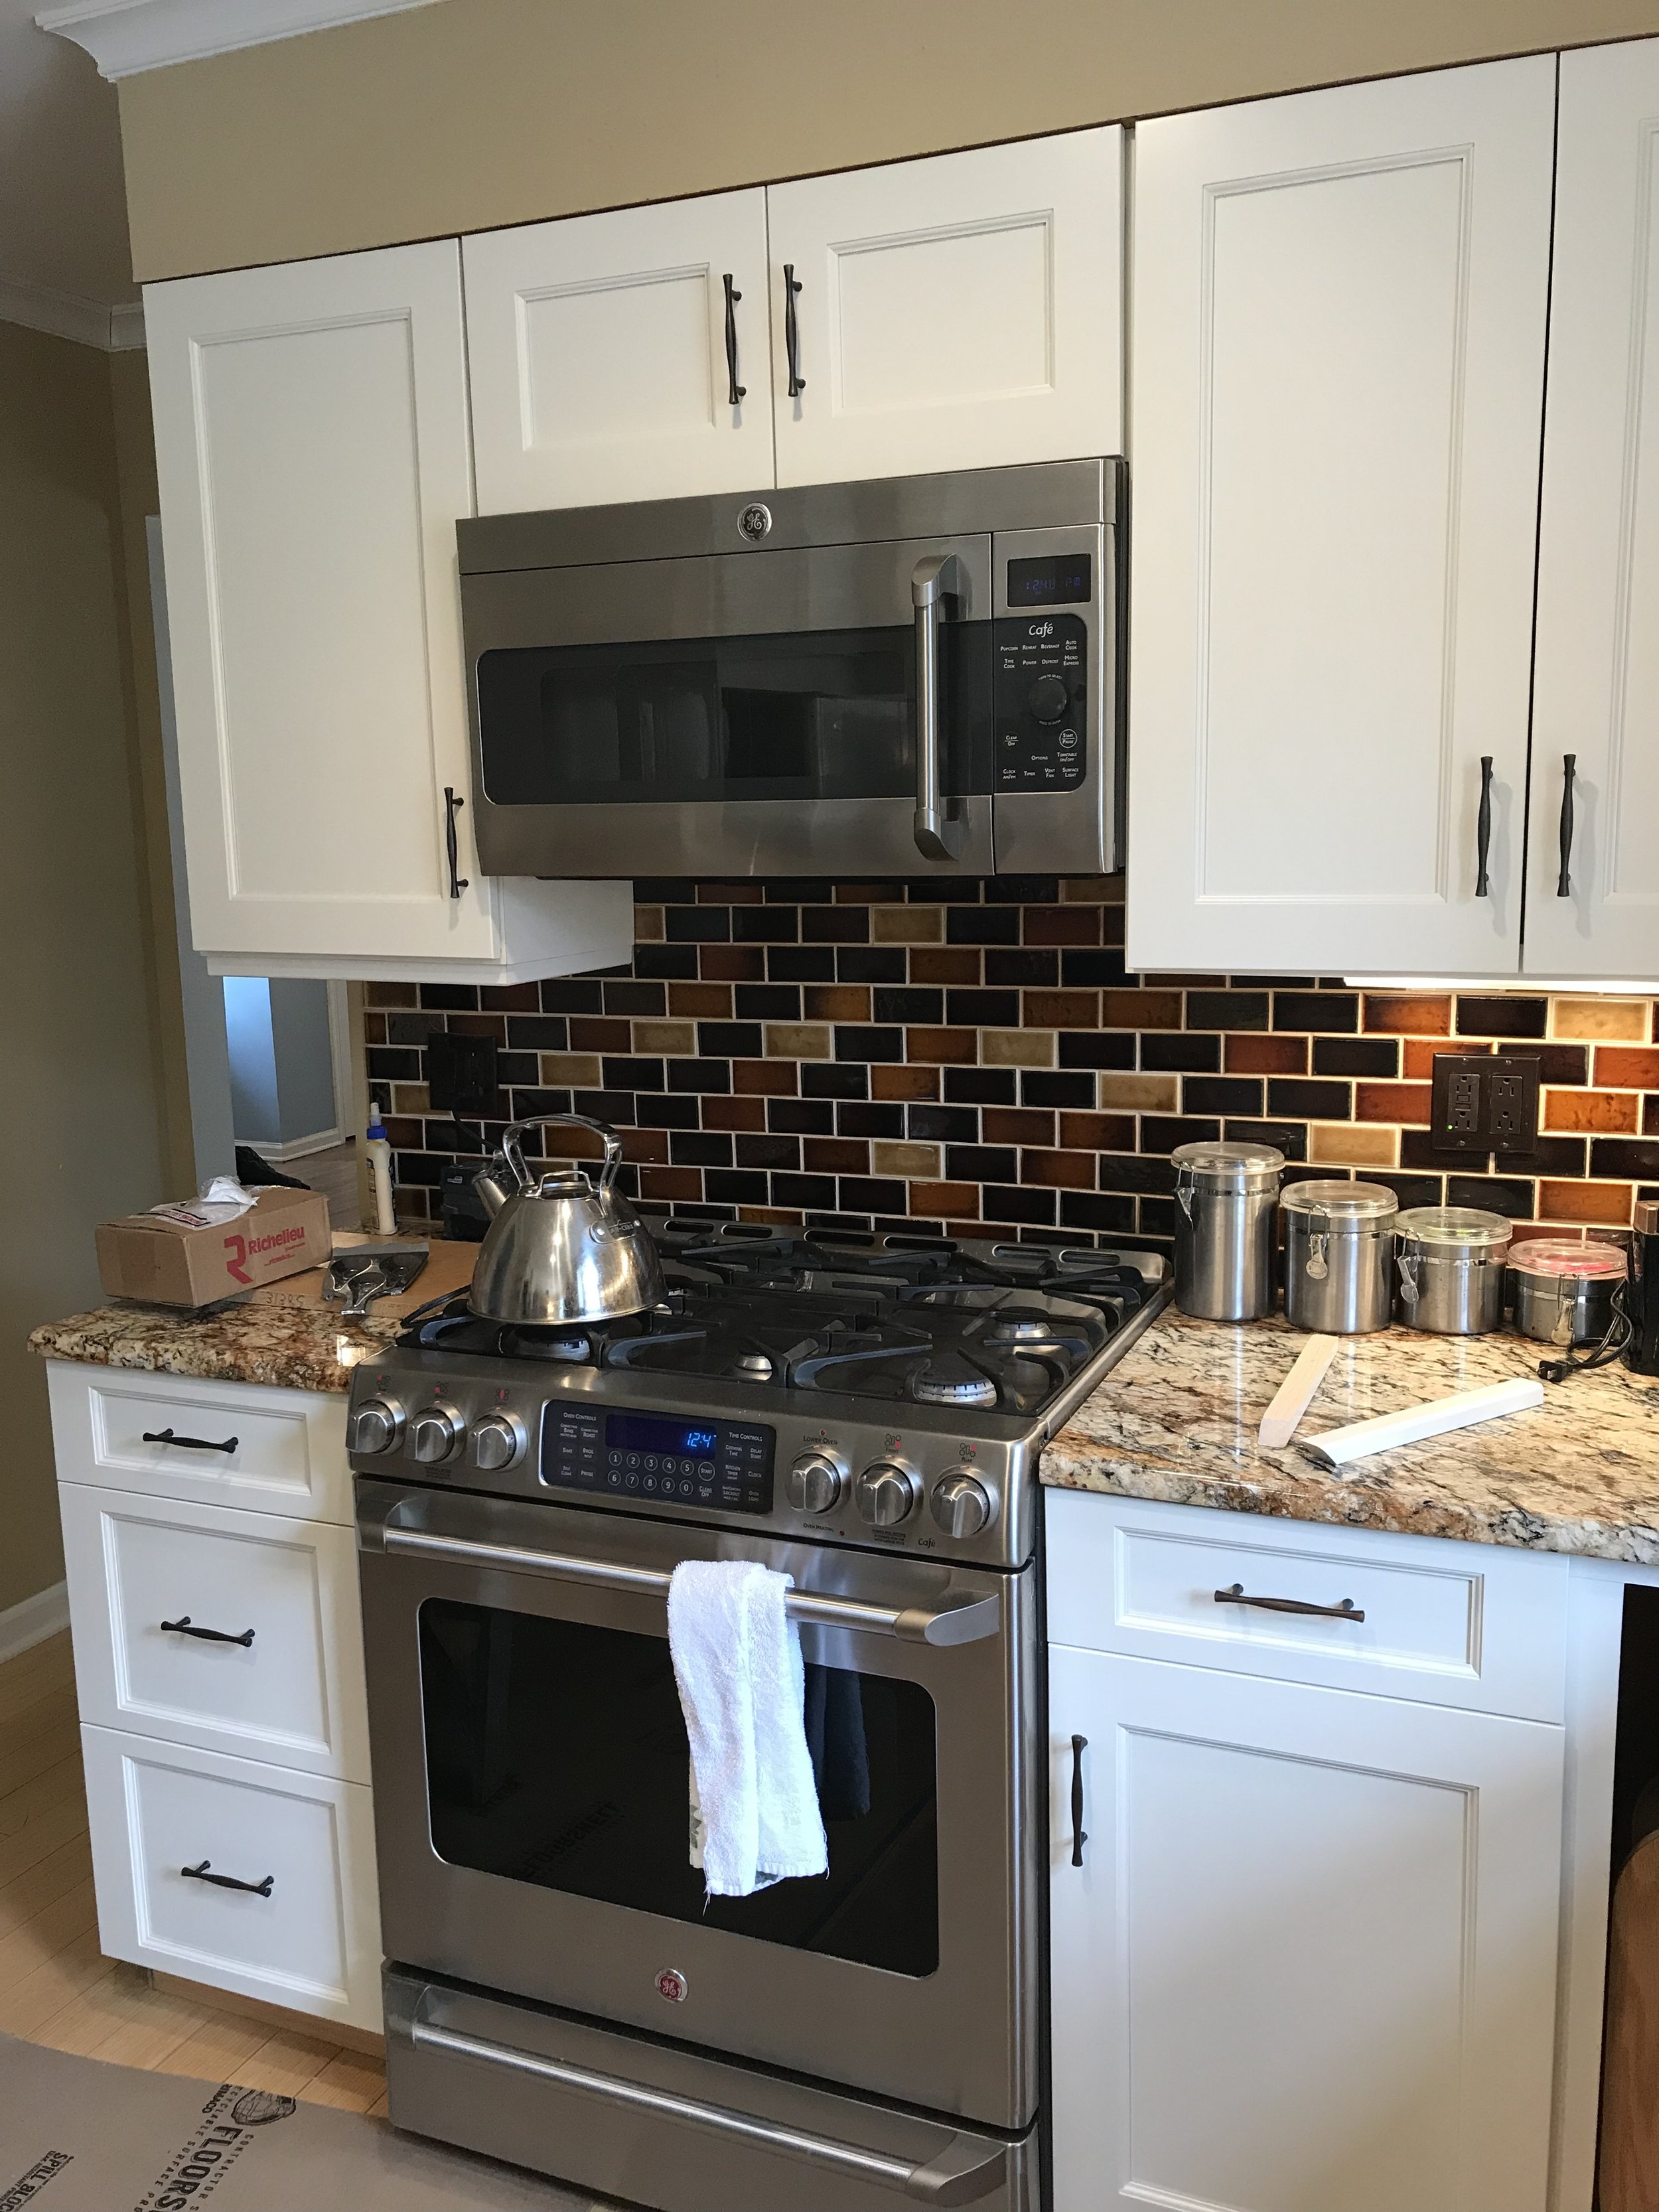
Step Five: Installation of Doors, Drawers, Hardware, and Accessories
Once the actual “refacing” part of the project is complete, we install the new doors, drawerfronts, and cabinet hardware. Until this point the kitchen may not look like much, but this is when the space comes to life and vision becomes reality.
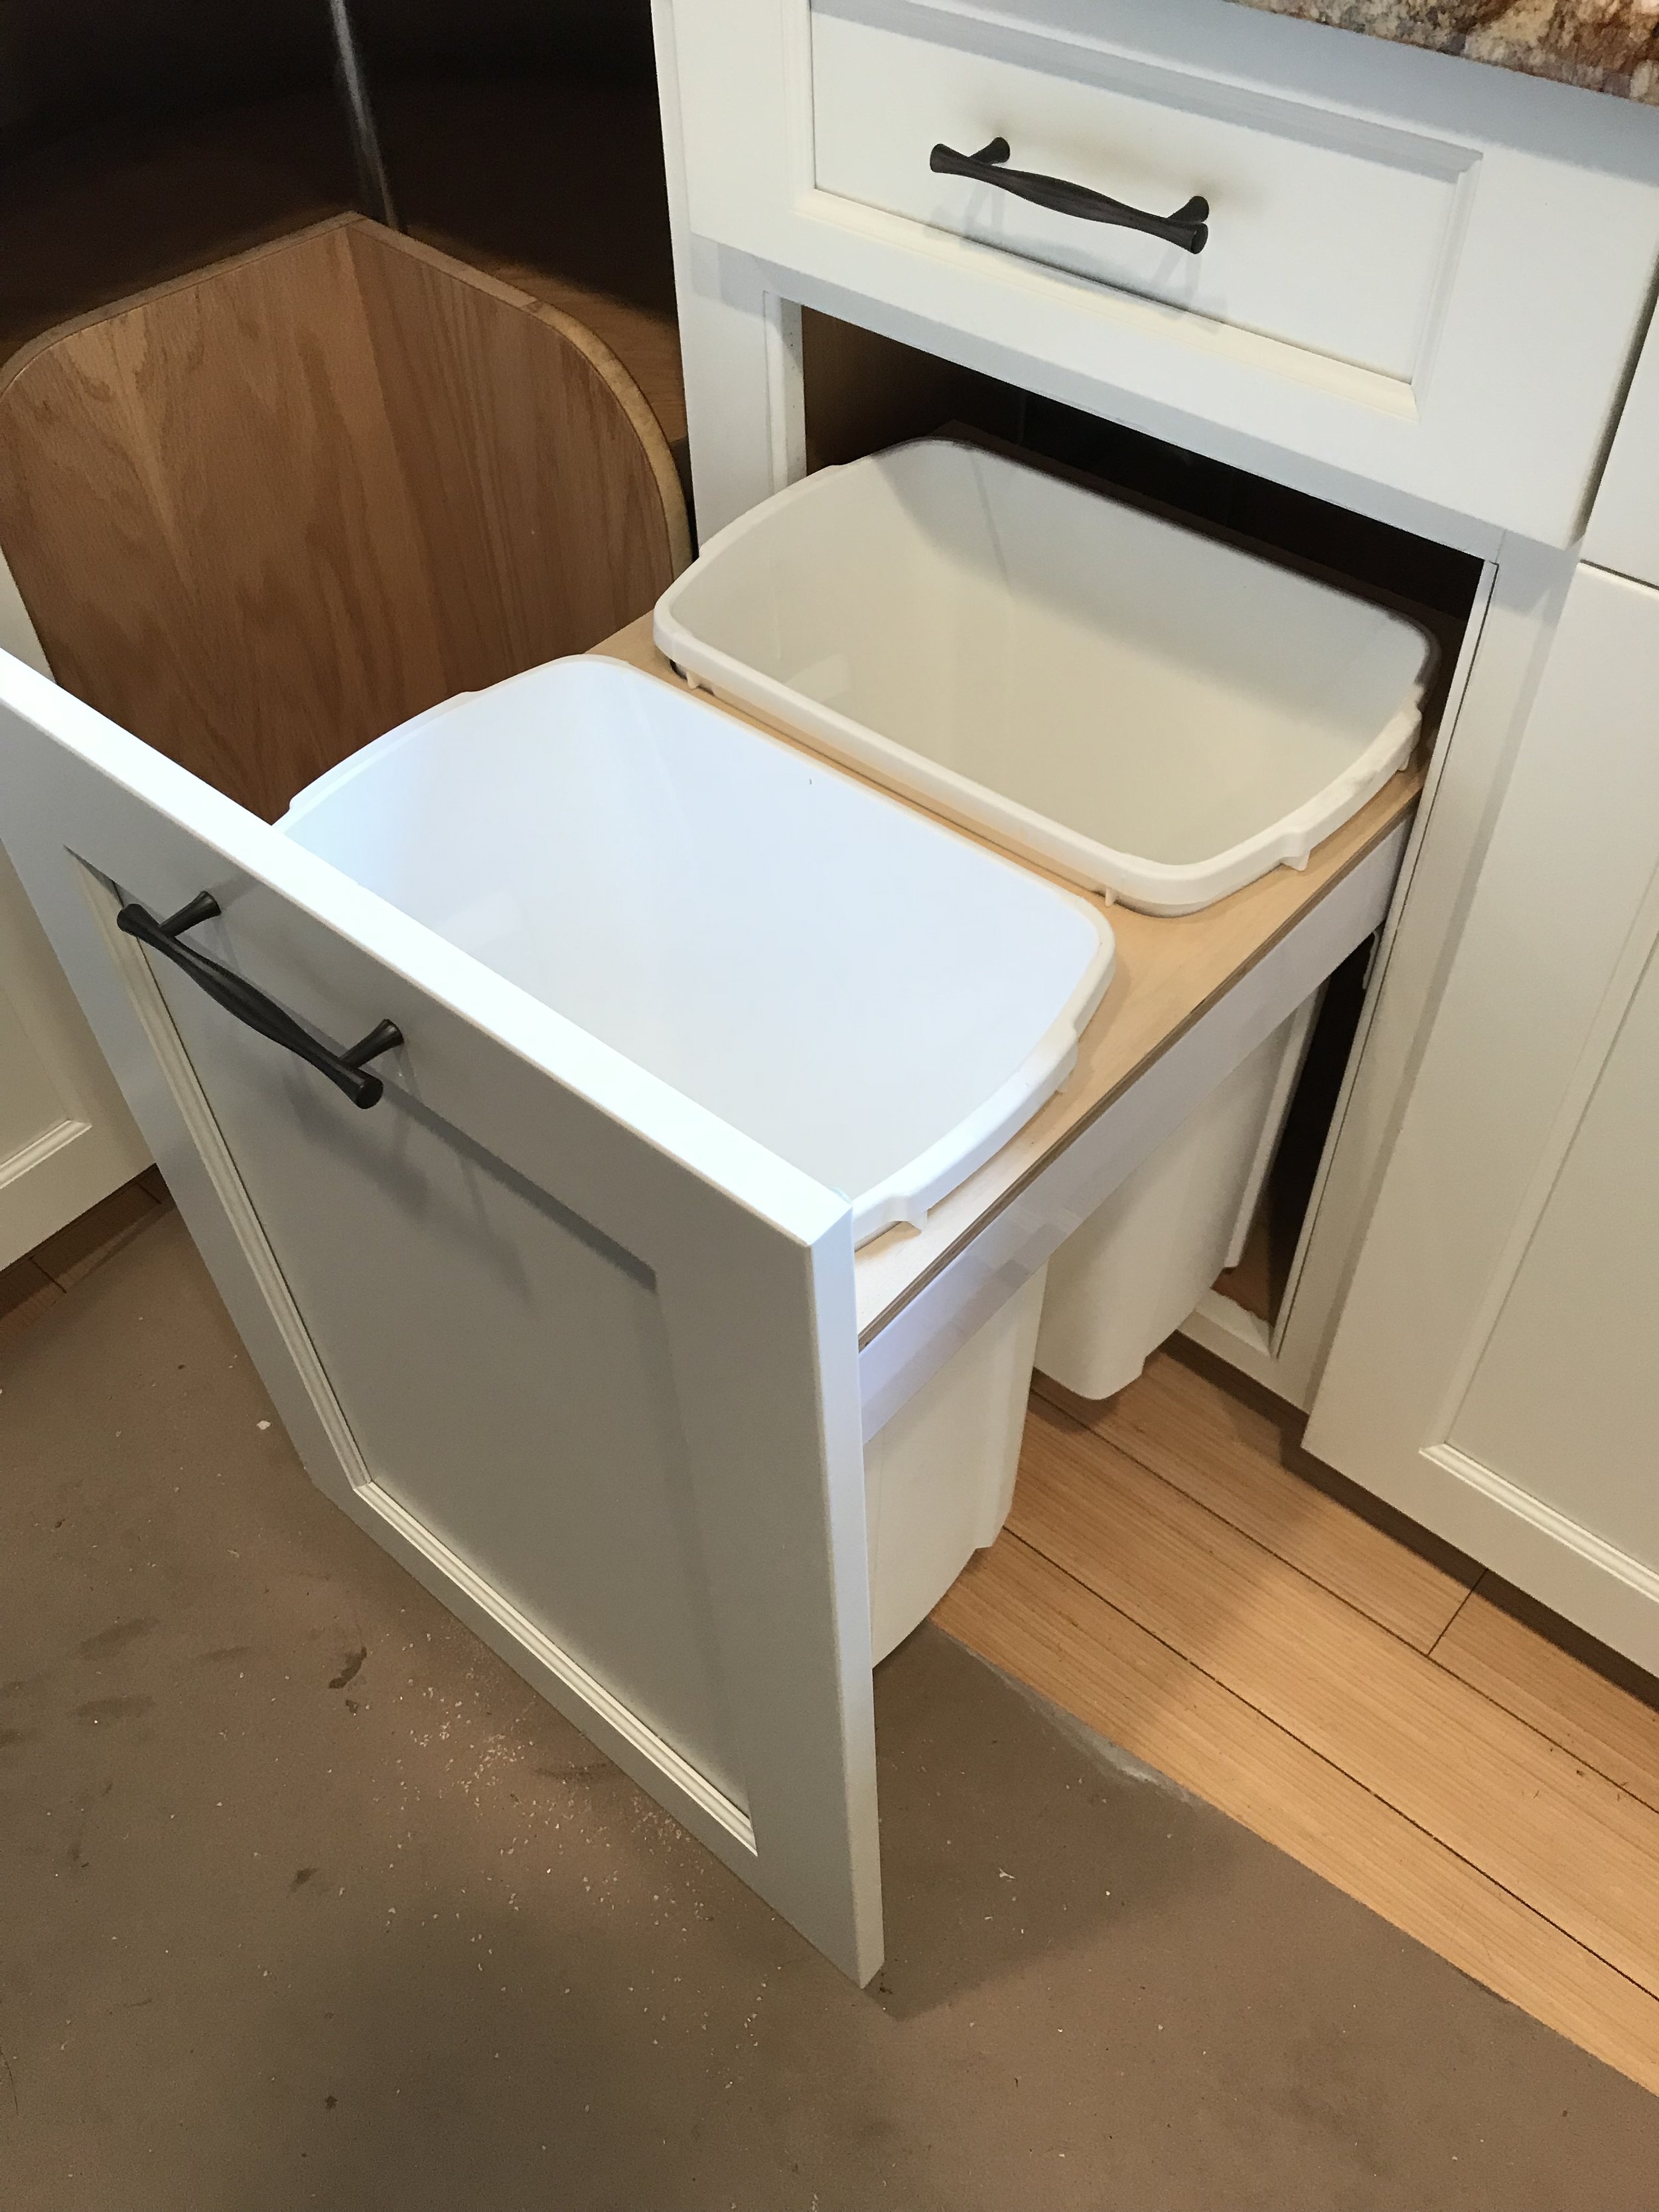
We install all new hinges with a soft closing feature, a nice addition that you will see in all new cabinetry today. Another option many homeowners take advantage of is accessorizing their kitchen. This may include new wood drawer boxes, a trash pullout, and cutlery dividers, etc. All of these additional features enhance the functionality of the kitchen without having to completely replace your cabinetry.
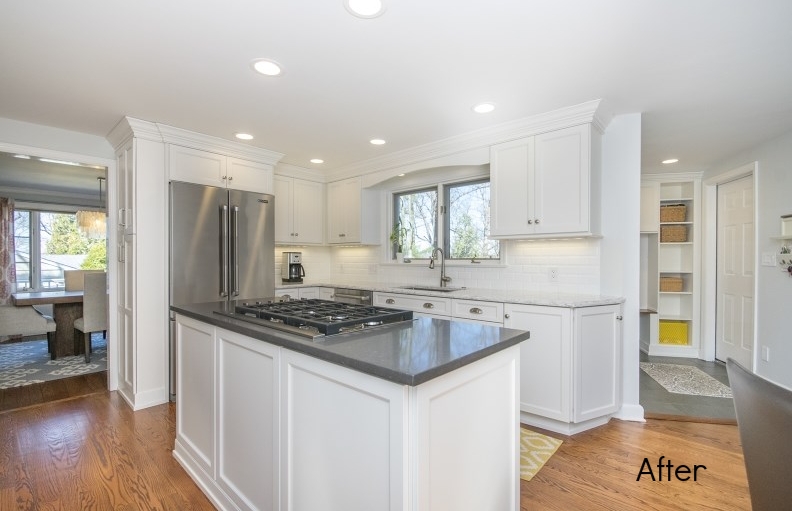
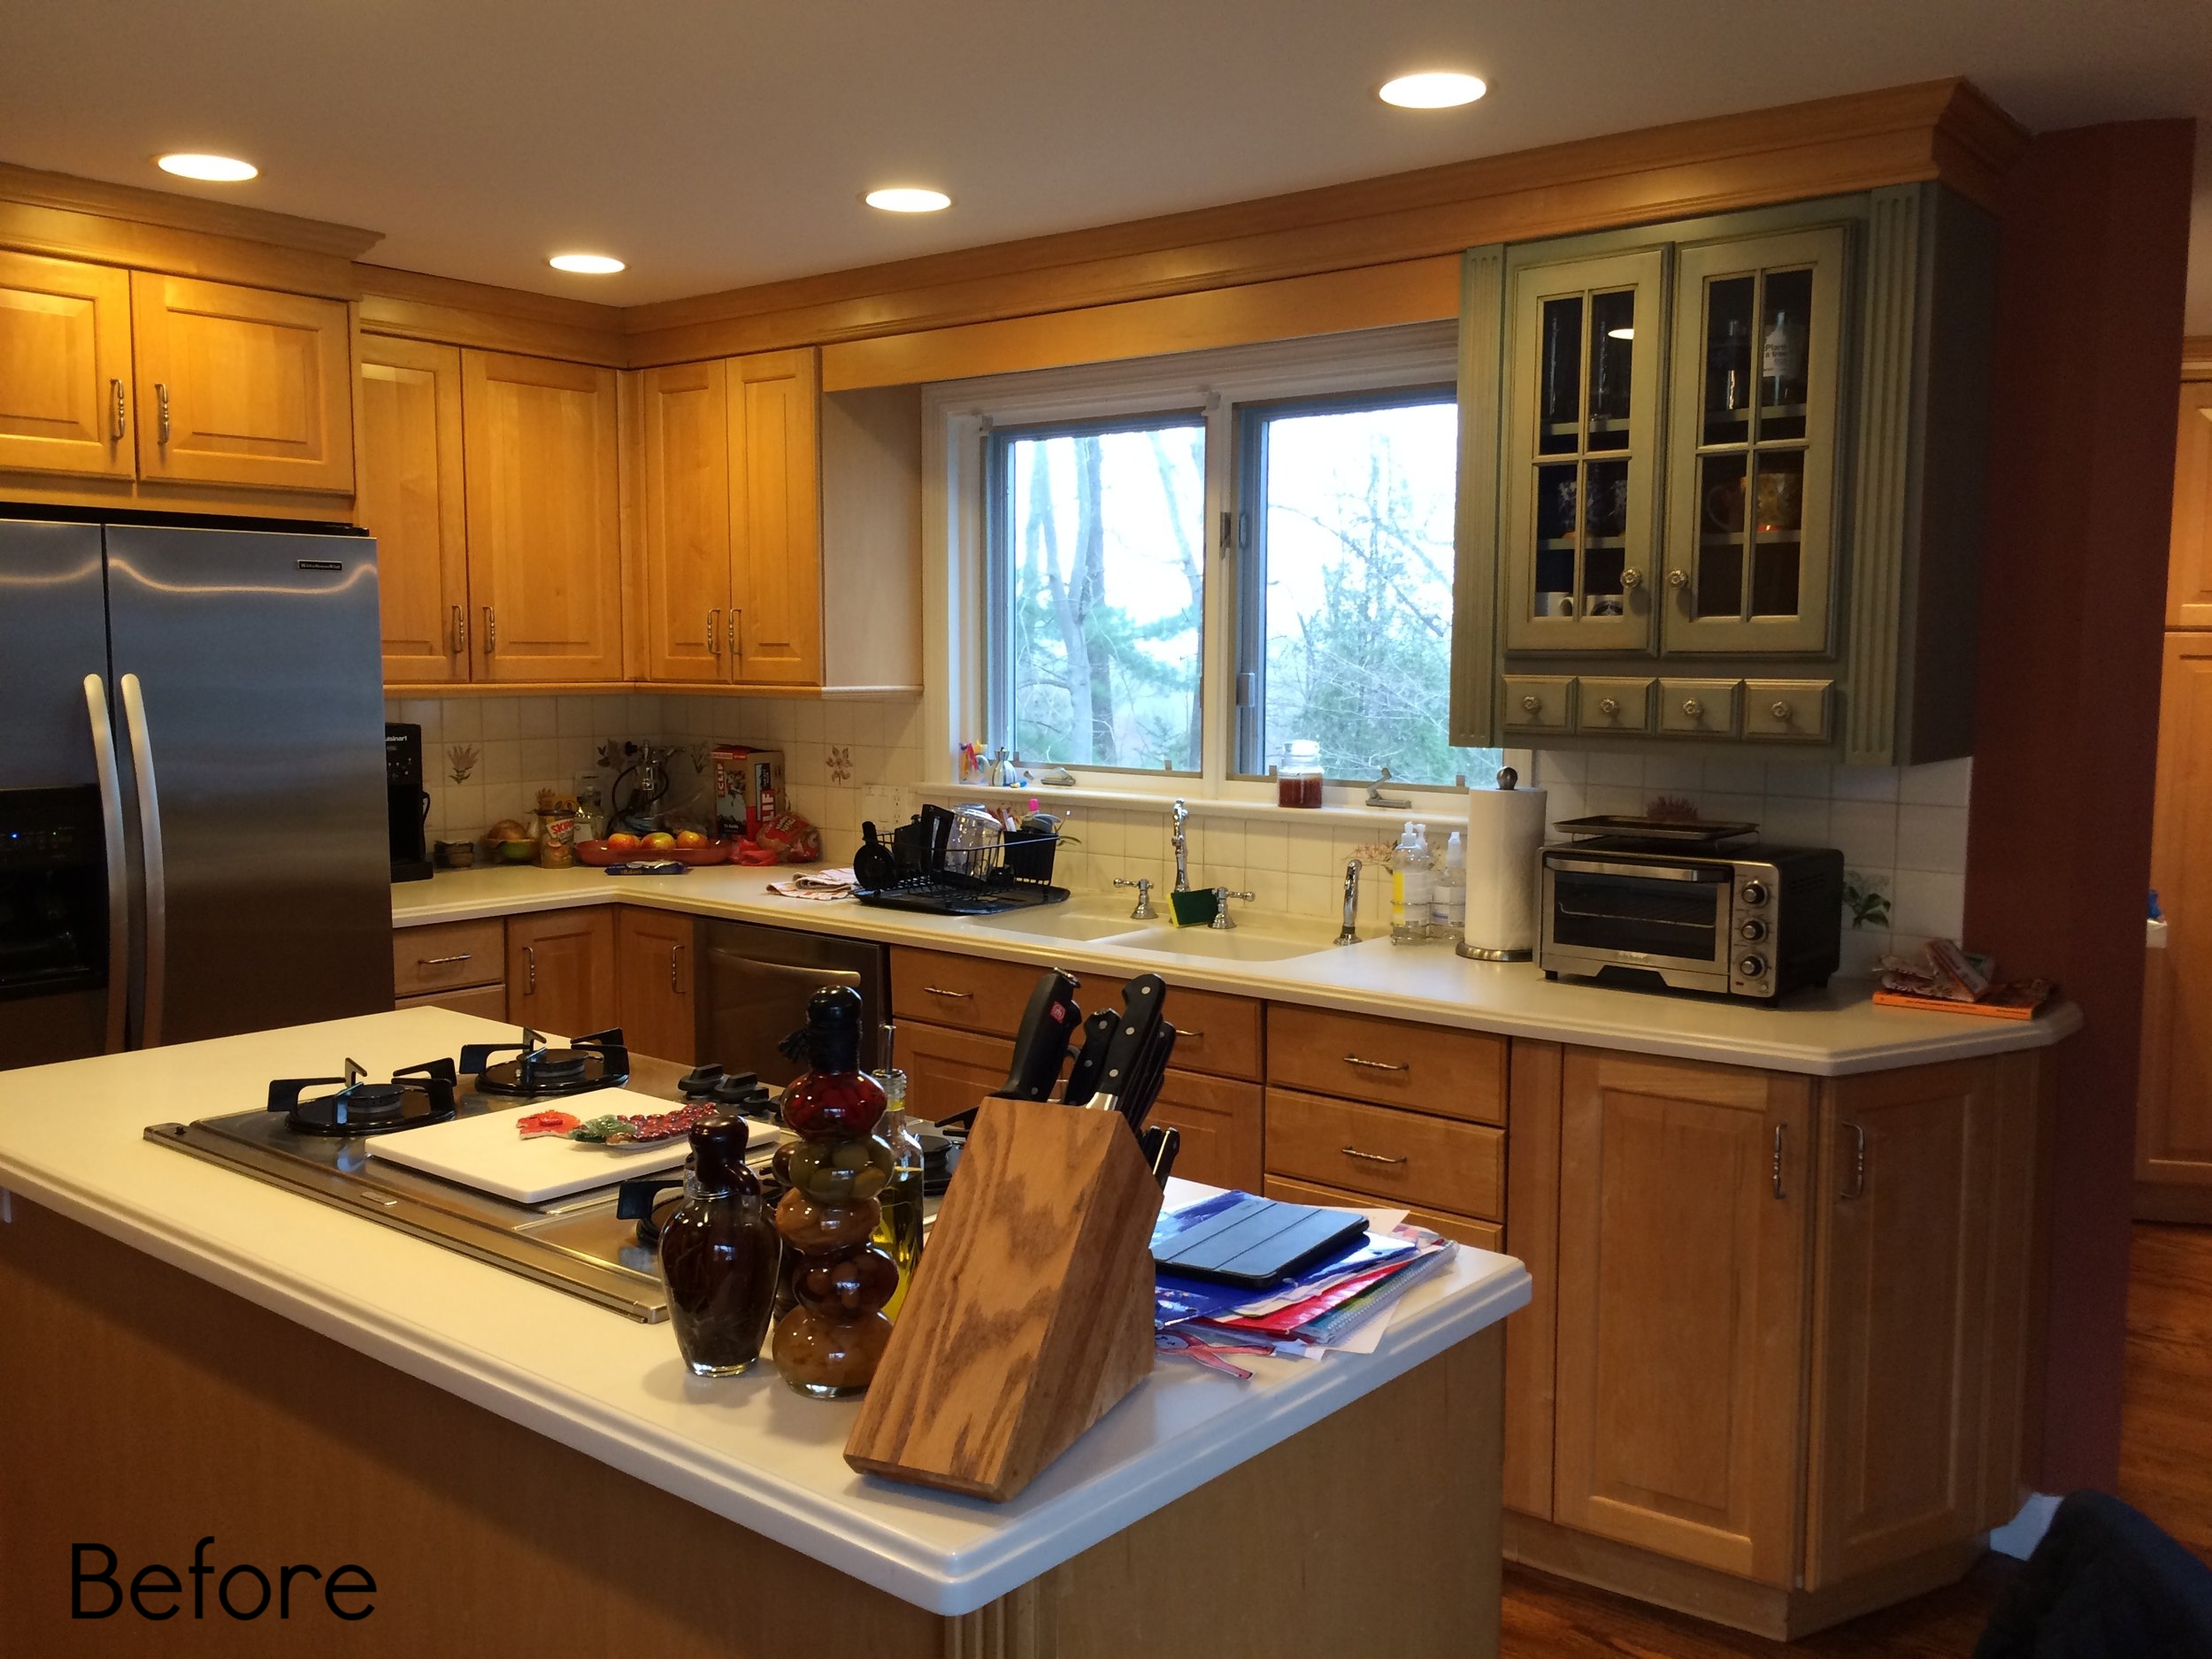
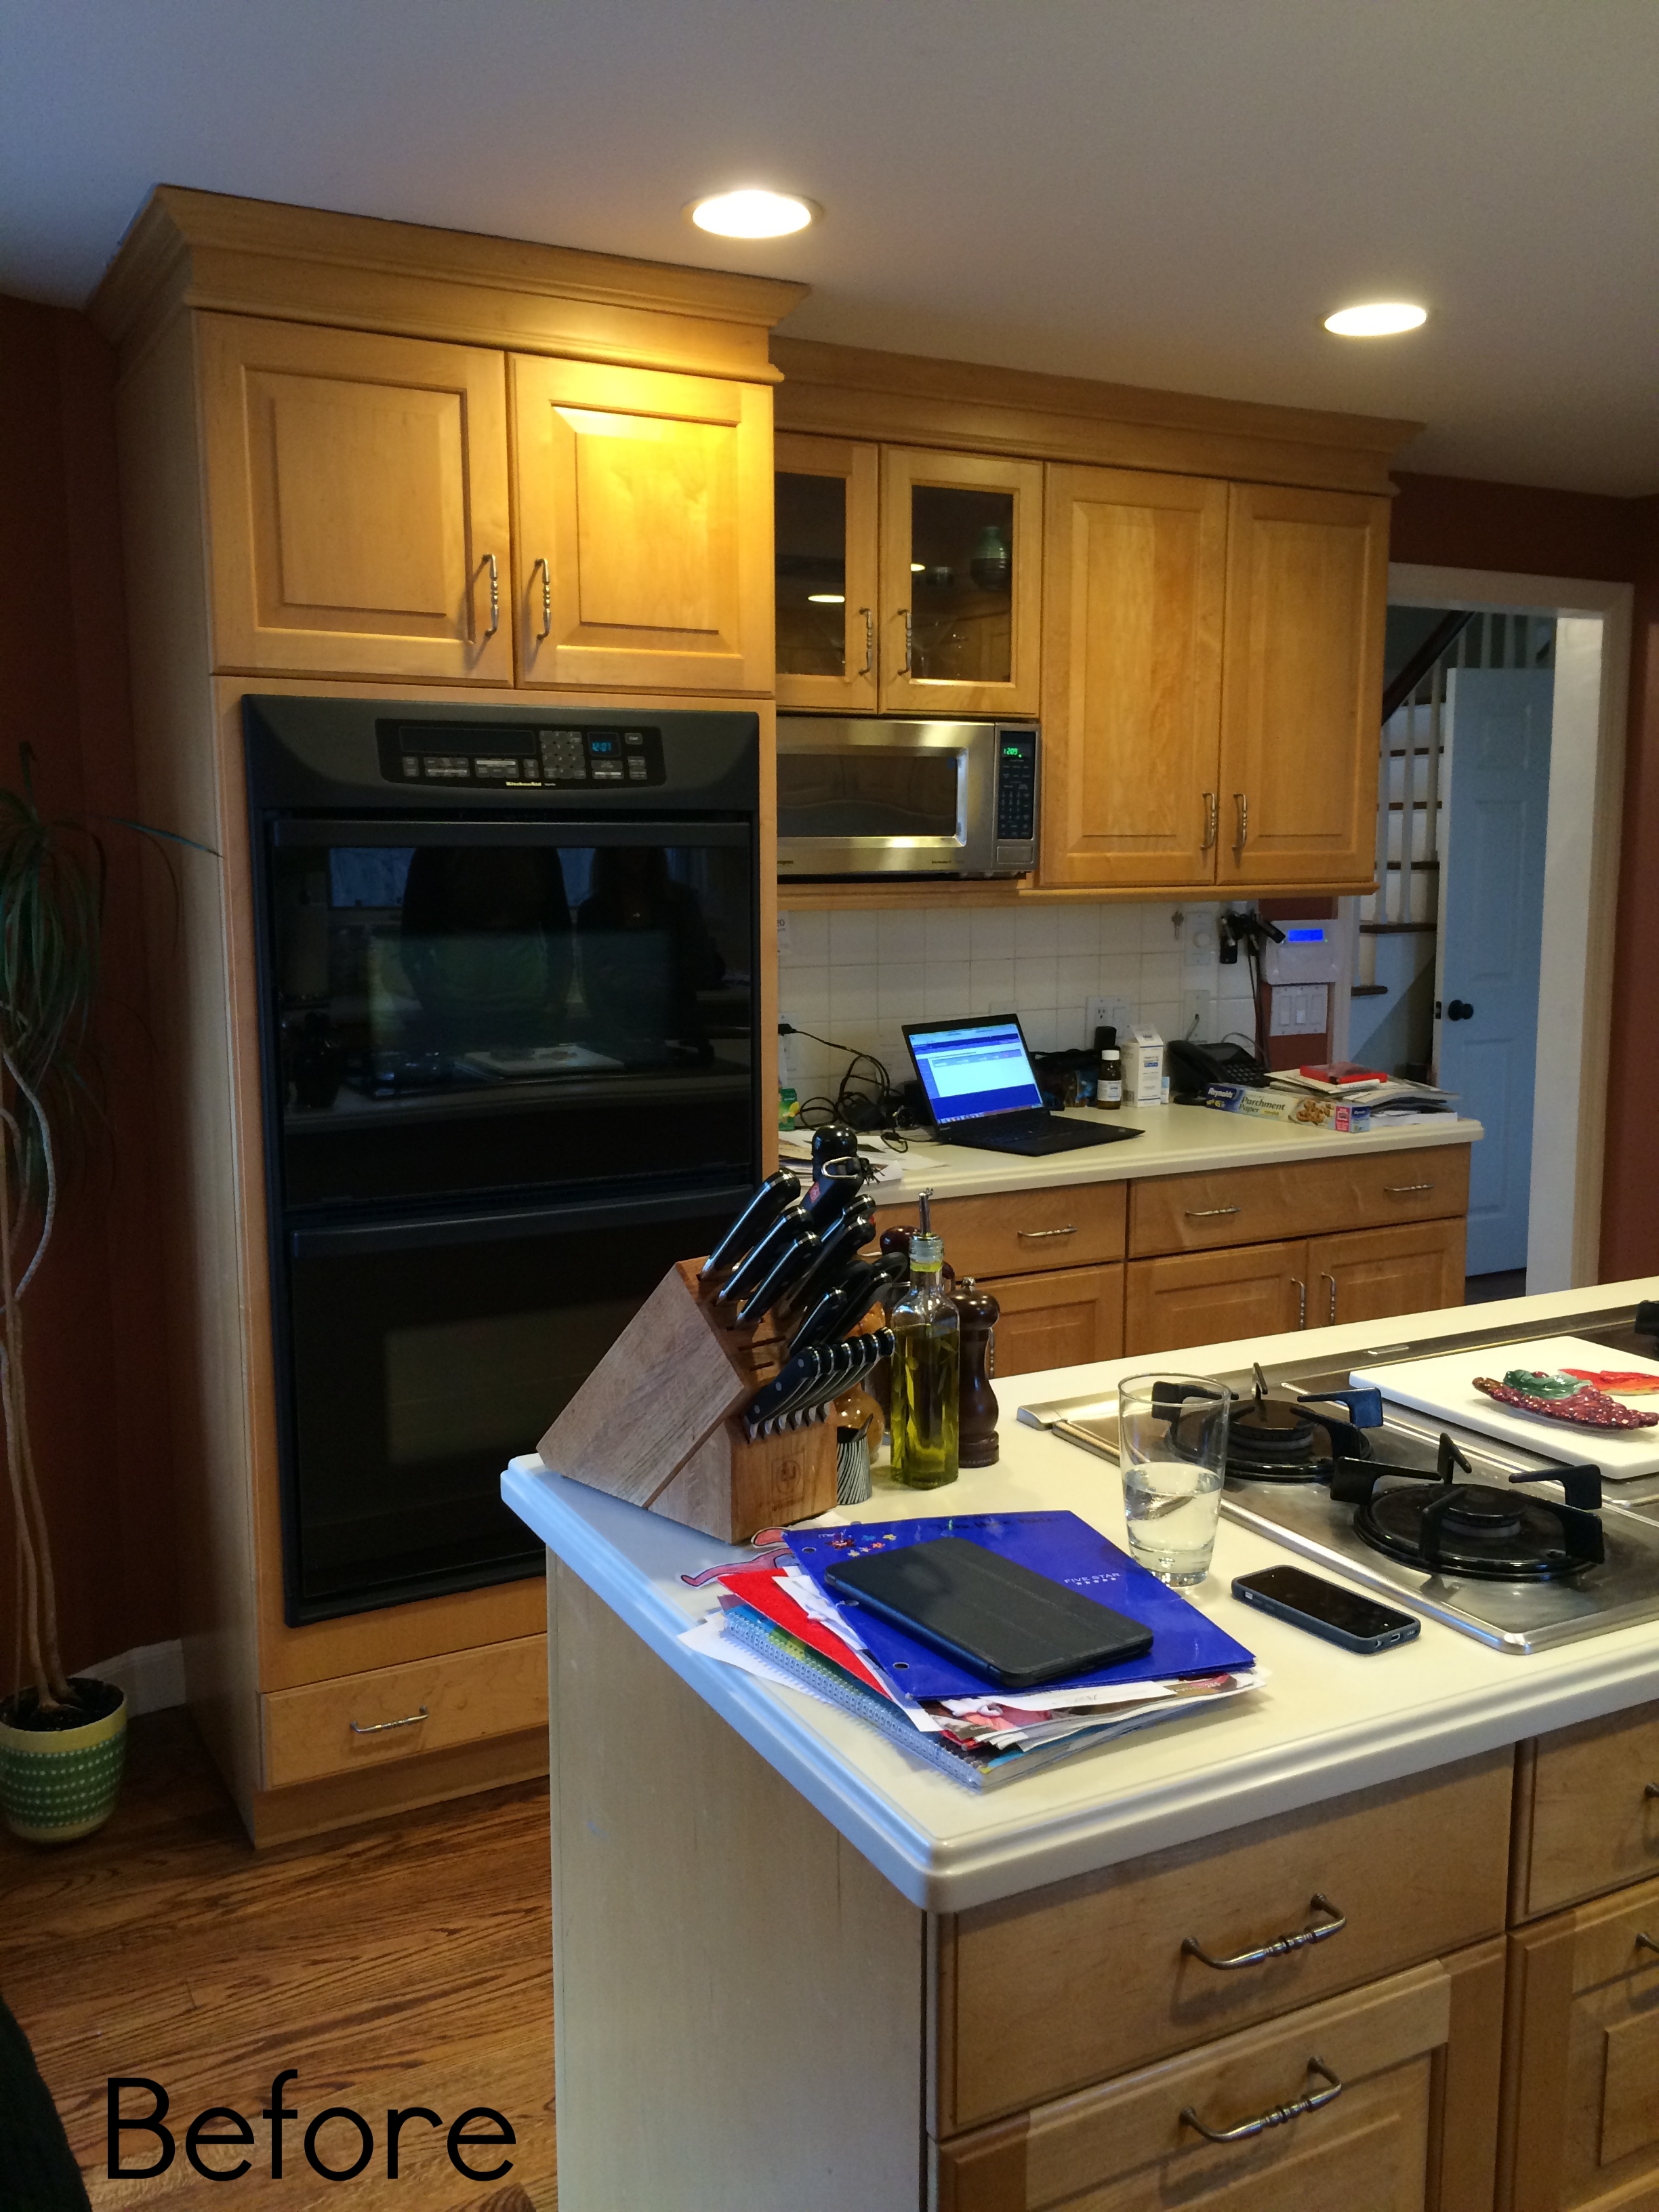
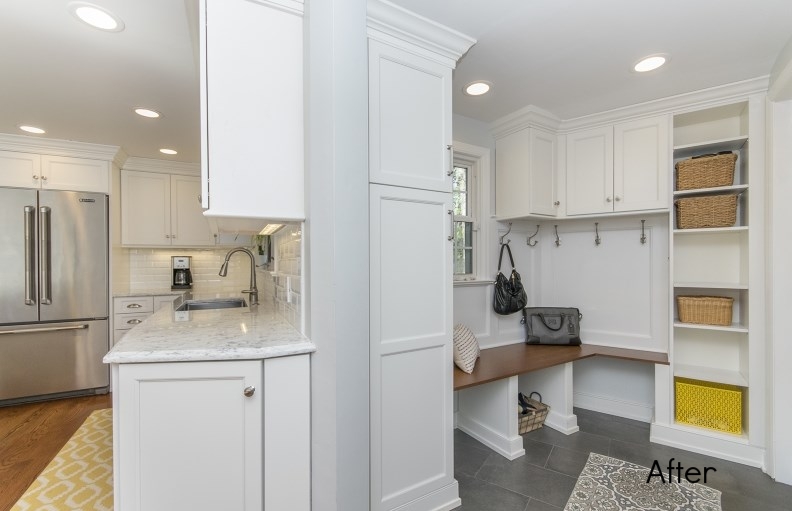
To see more Before and Afters of our previous cabinet refacing photos, click through the gallery below!